
Setting Up a New Participant for Billing: A Checklist
Ensuring a participant is correctly configured for billing is a vital step in your onboarding process. Follow this checklist to ensure accurate invoice generation, proper payer allocation, and seamless 837 claim submissions.
Step 1: Set Up the Payer
Before billing a participant, the payer must exist in your system.
For Private Pay Participants:
Add as a Contact: Navigate to the Contacts feature and add the person responsible for payment.
Tip: While address and phone are important, a valid email address is crucial if you intend to email invoices.
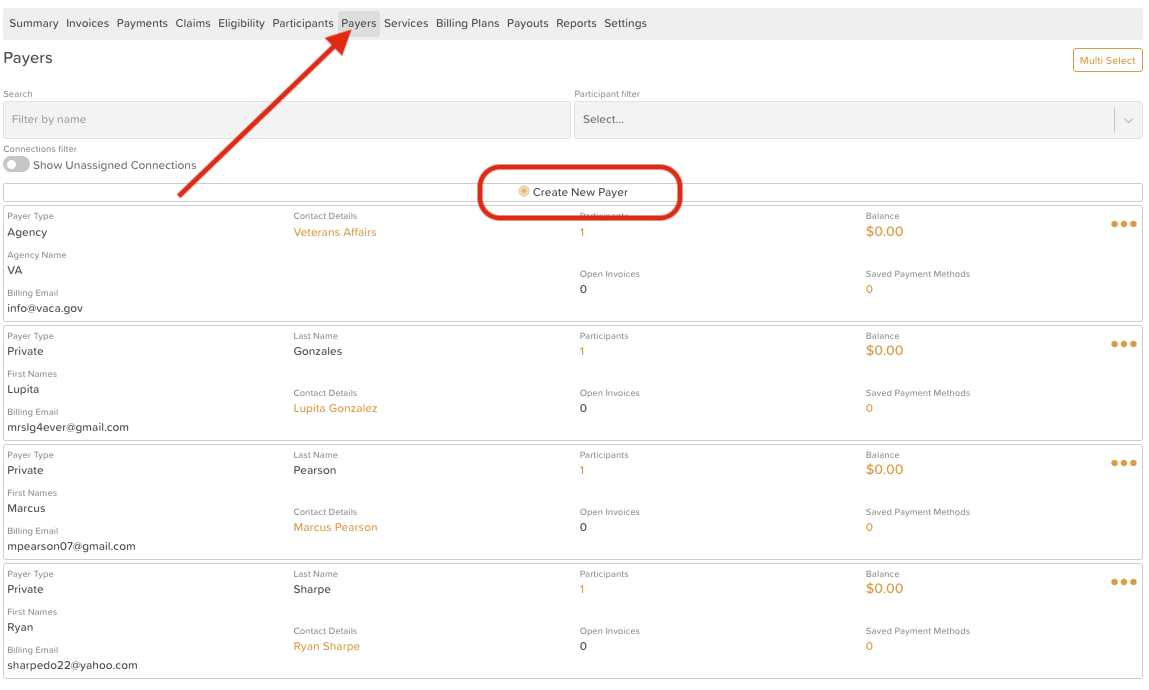
Set up in Billing: Go to Billing > Payers > Create new payer. Under Contact Details, select the contact from the dropdown to auto-fill their information. Ensure you select Private for the payer type before clicking Save.


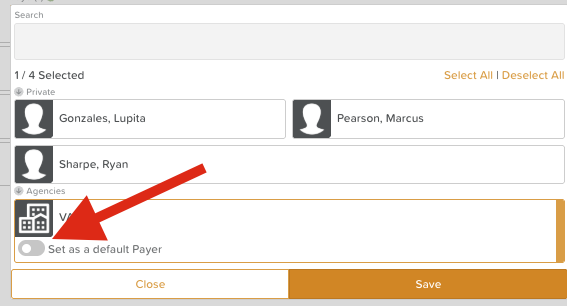
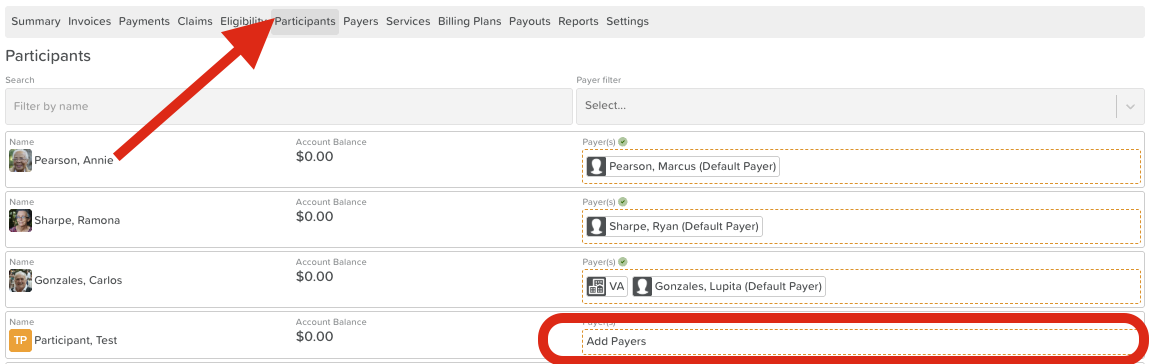
Connect to Participant: Within the Billing feature, go to the Participants tab and search for your participant. Click the Payers area to add the new contact and toggle on "Default Payer" (if applicable).

For Agency Reimbursement:
Set up in Billing: If the agency isn’t in your system, go to Billing > Payers > Create new payer. Manually enter the Agency details and click Save.

Connect to Participant: In the Participants tab, search for the participant and add the Agency in the Payers section. You can toggle "Default Payer" here as well.

Note: A participant can have multiple payers assigned.
Step 2: Add Participant to Services
Now that the payer is established, you must authorize the participant for specific services.
Navigate to Services: Go to Billing > Services.
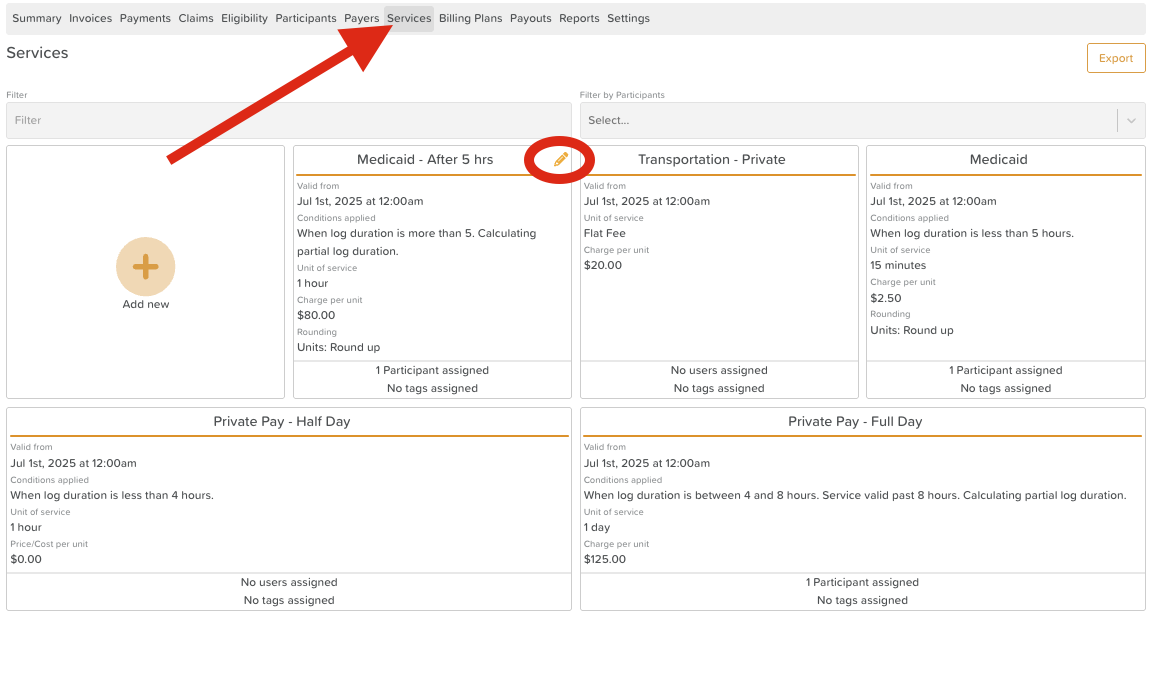
Assign the Participant: Hover over the service you wish to add and click the Edit (Pencil) icon. Click "Assigned Participants" and select the new participant.
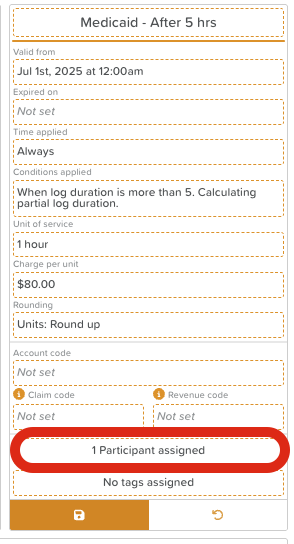
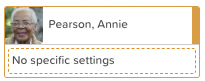
Configure Specific Eligibility (Optional): If the participant is only eligible for certain days or timeframes, click "No specific settings" under their name.
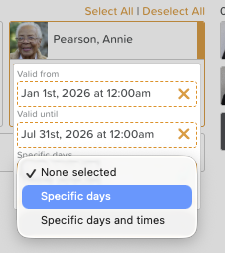
Set Valid From and Valid To dates.
Select specific Days of the Week (e.g., Mondays and Fridays only).
Save: Click the Back Arrow and then the Disc Icon to save.
See: A Guide to Using Services
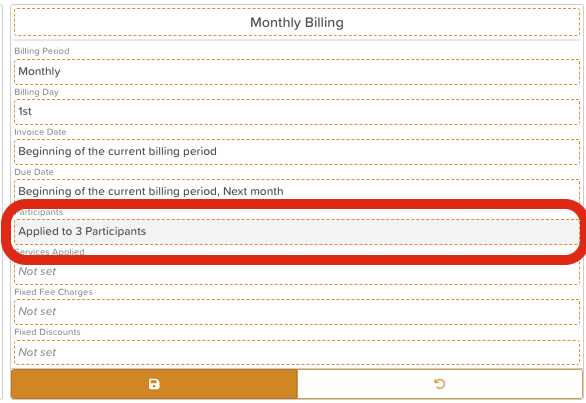
Step 3: Add to Billing Plans
Billing plans determine how and when invoices are generated, as well as how the costs are allocated.
Navigate to Plans: Go to Billing > Billing Plans.
Edit the Plan: Click the Edit (Pencil) icon on the relevant plan (e.g., Private Pay or Reimbursement).
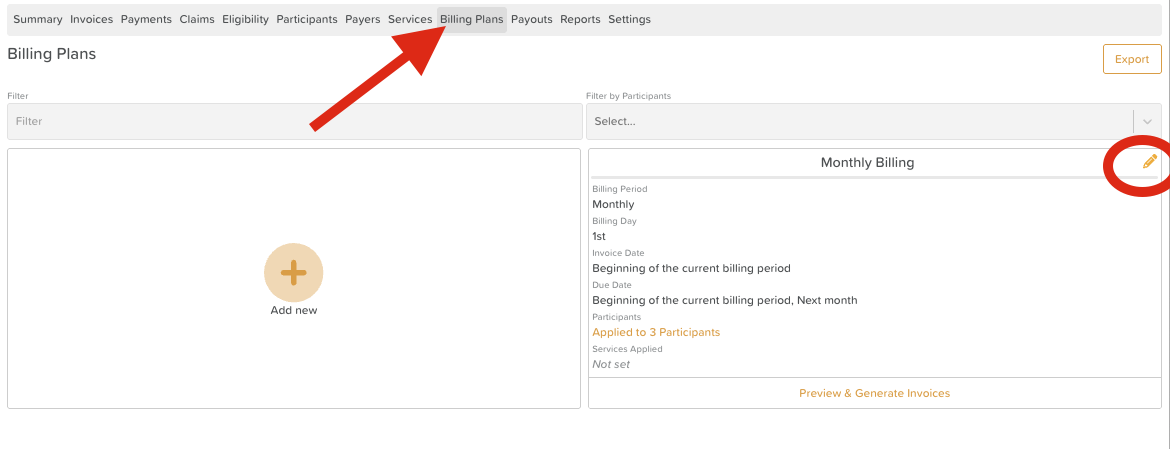
Apply to Participant: Click "Applied to X participants" and select the new participant.
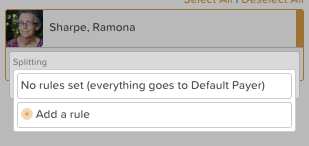
Configure Custom Splitting (If Applicable): If multiple payers are sharing the cost, click "Default Splitting" and then "Add a Rule." You can set a specific monetary amount or a percentage for each payer.
Save: Click the Back Arrow and then the Disc Icon to save.
See: Billing Plans
See: How to Set Up Invoice Splitting Between Payers
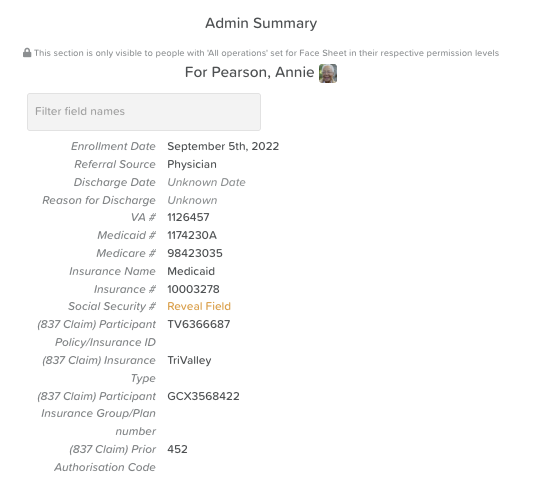
Step 4: Update 837 Admin Summary Fields
If you will be generating 837 Professional or Institutional claims, you must verify that the participant's Face Sheet is complete.
Review the Profile: Go to the participant's profile and locate the Admin Summary fields.
Input Required Data: Ensure the following are accurate:
Participant Policy/Insurance ID
Primary Problem Code (ICD-10)
Address (Ensure you follow the right format and use commas as separators - Both format examples shown below are valid).
Example 1: 201 S Ellsworth Ave, San Mateo, CA 94401, USA
Example 2:
Address line 1: 201 S Ellsworth Ave
Address line 2: San Mateo, CA 94401
Insurance Type (e.g., MC for Medicaid)
Prior Authorization Code (if required for the service)
Participant Insurance Group/Plan number - Optional
Referring Provider Contact - Optional
See: How to Set Up an 837 Export in StoriiCare
Final Pro-Tips & Best Practices
To ensure a smooth first billing cycle, consider these final steps:
Run an Eligibility Check: Navigate to Billing > Eligibility to verify coverage before service begins.
Assign Groups: Add the participant to any relevant clinical or social Groups.
Set Attendance Schedule: If using the Schedule as the data source for Billing, check that the participant’s Attendance Schedule is updated so the billing system knows which days to look for data.
Need More Help?
If you need further assistance, you can schedule a support call by emailing support@storii.com. Our support team is ready to help you with any questions or issues you may have.