A Guide to Using Contacts
How to Add a New Contact
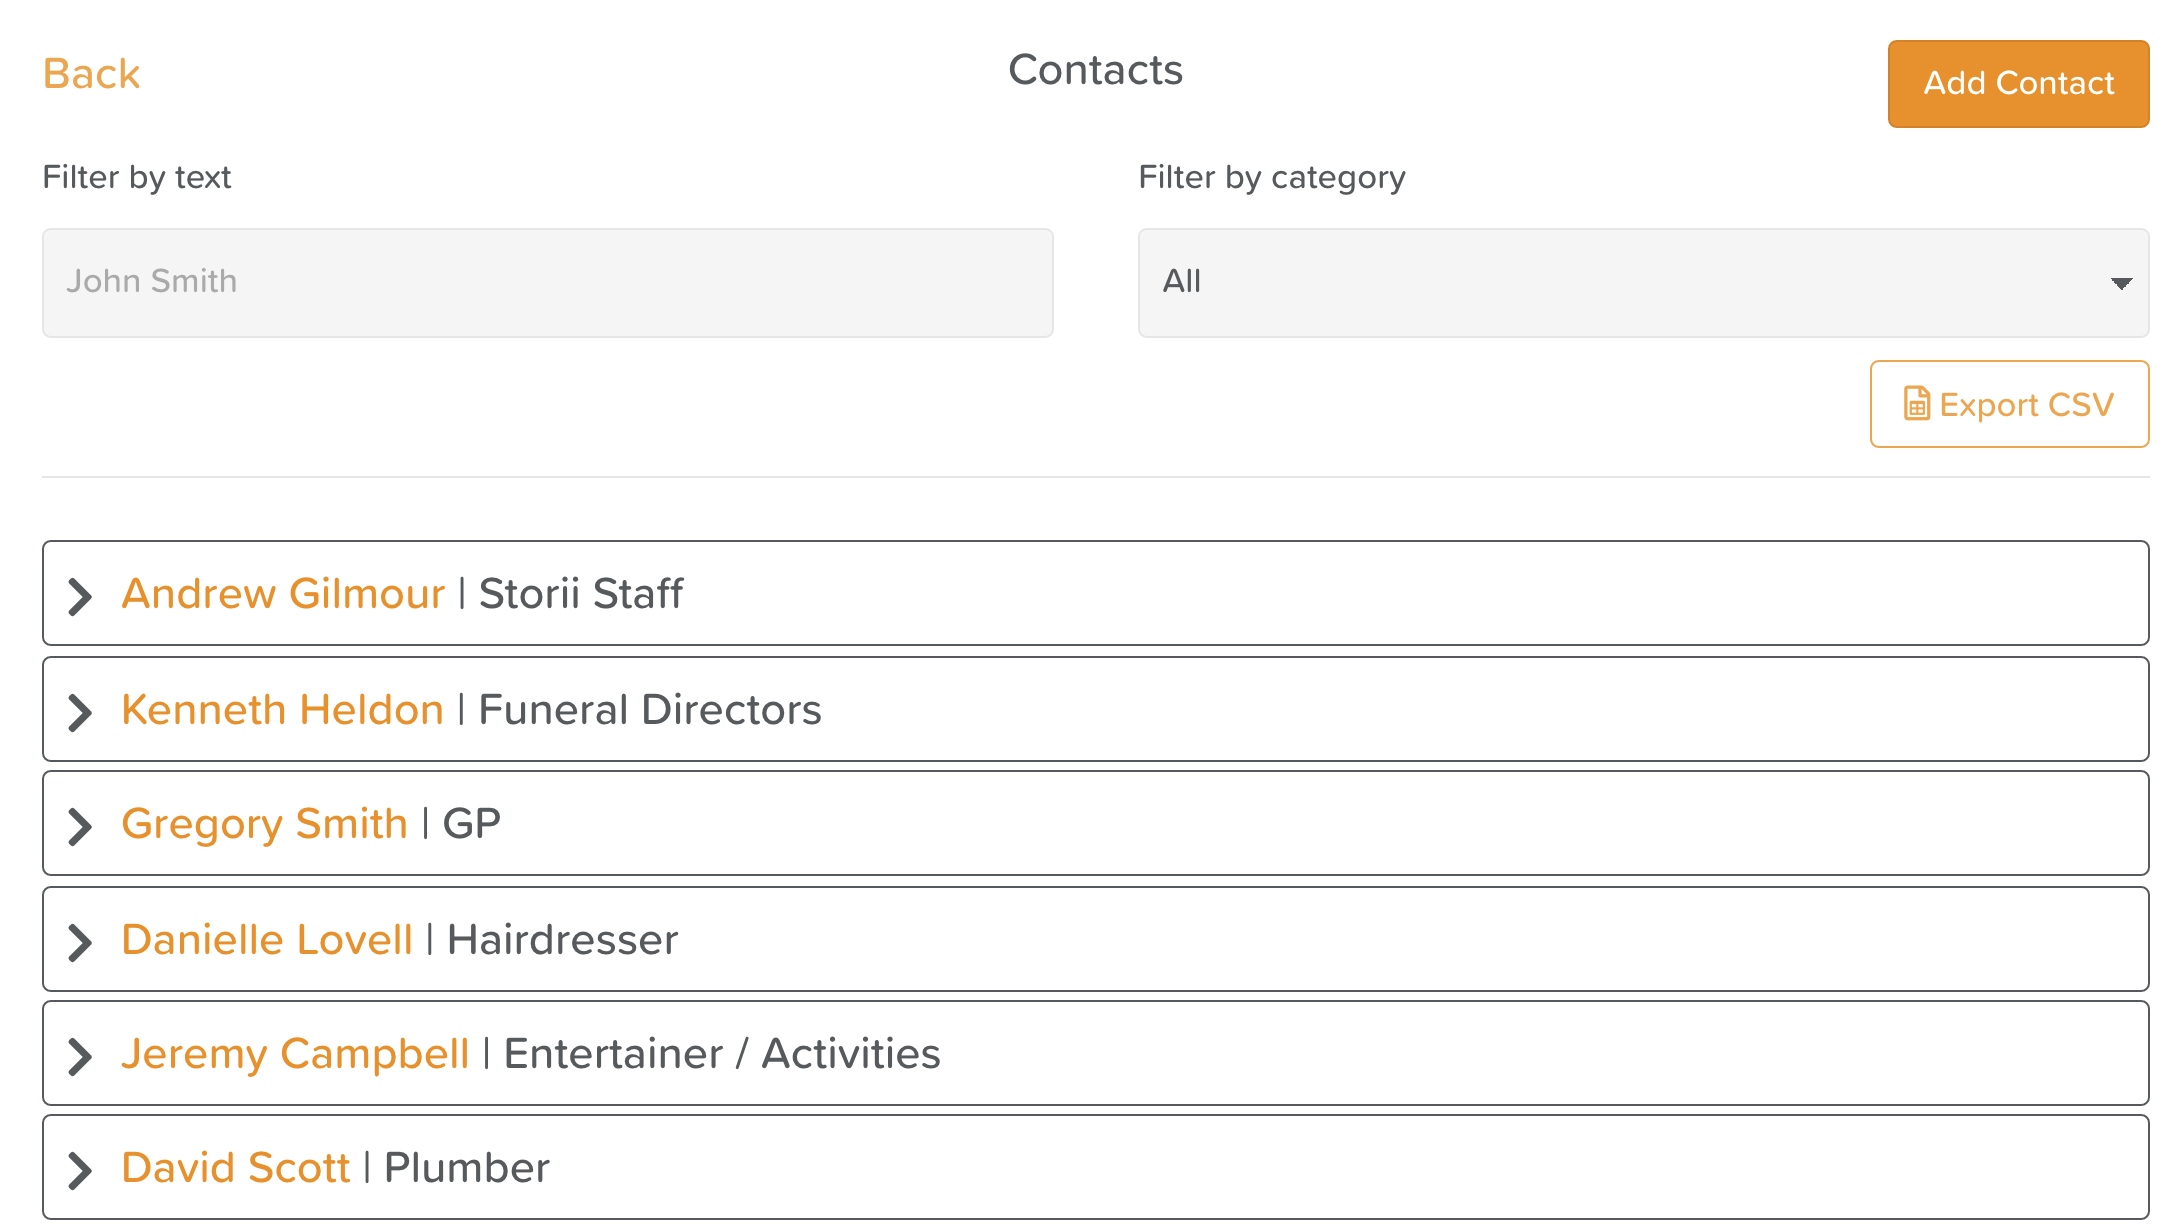
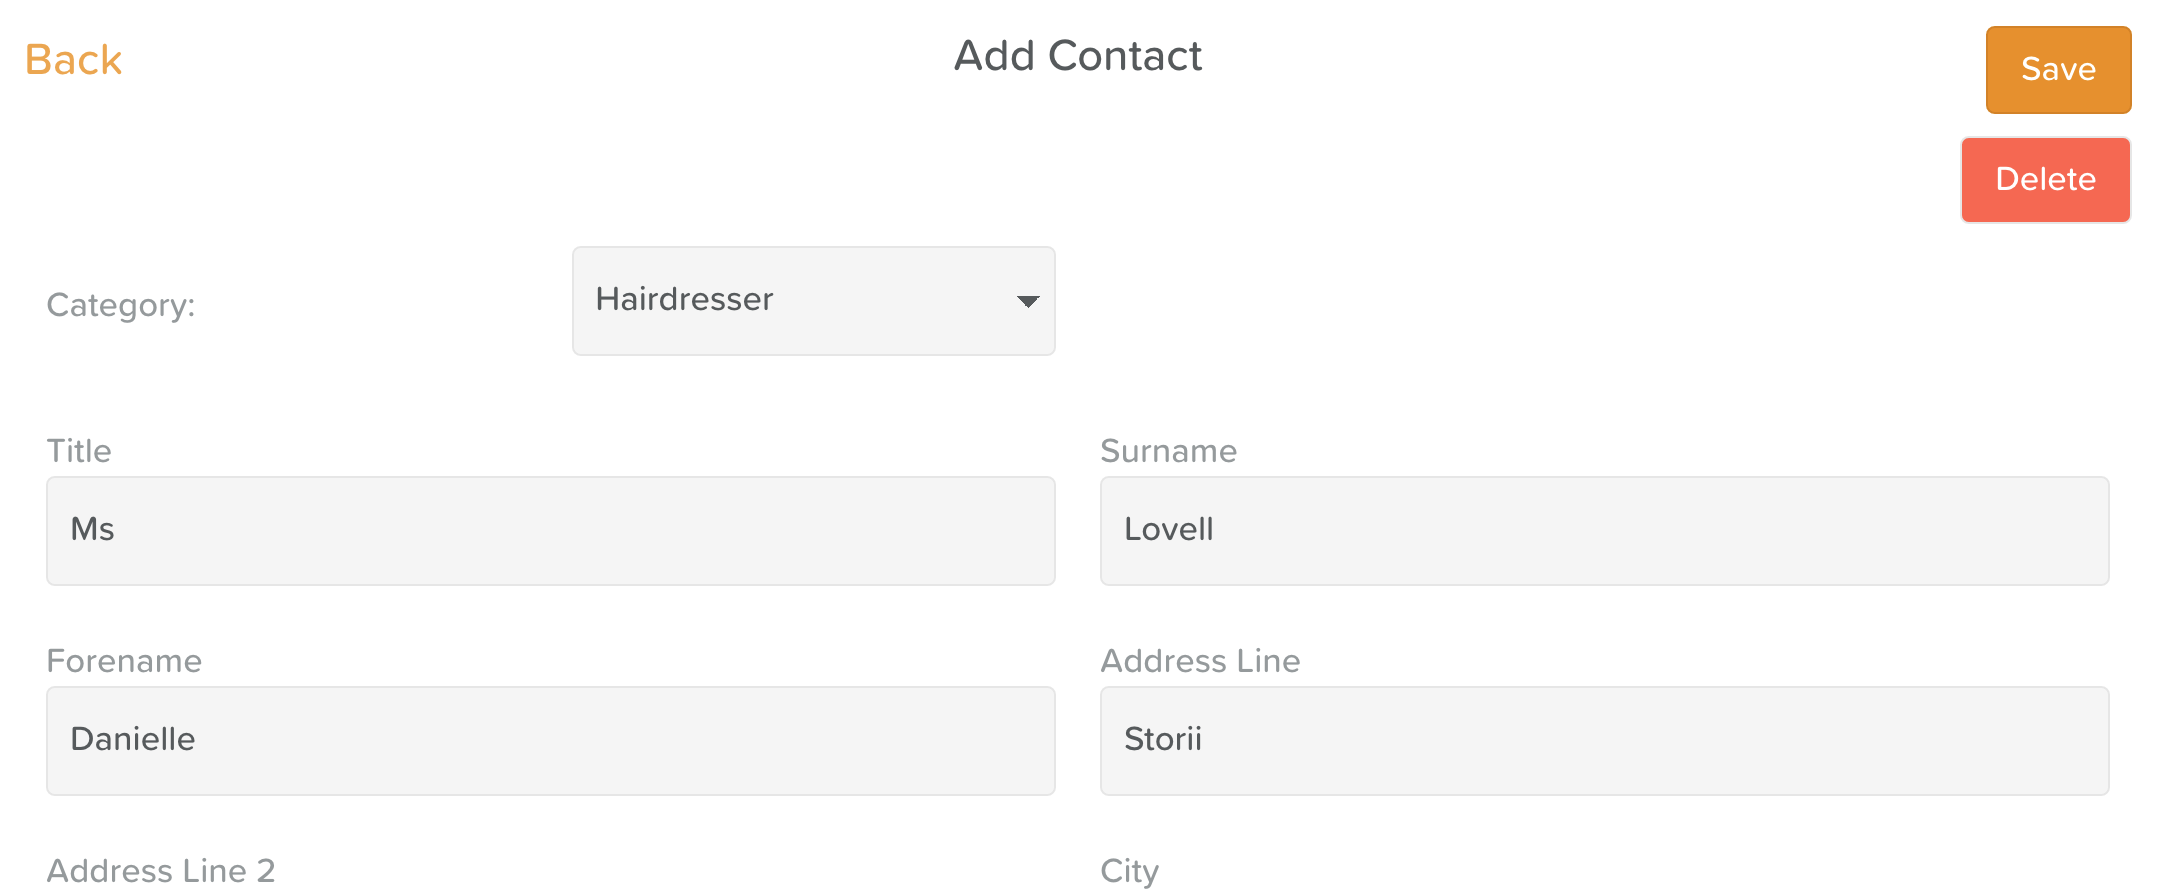
After selecting Contacts from the Dashboard you can add a new contact by clicking Add Contact in the top right corner.
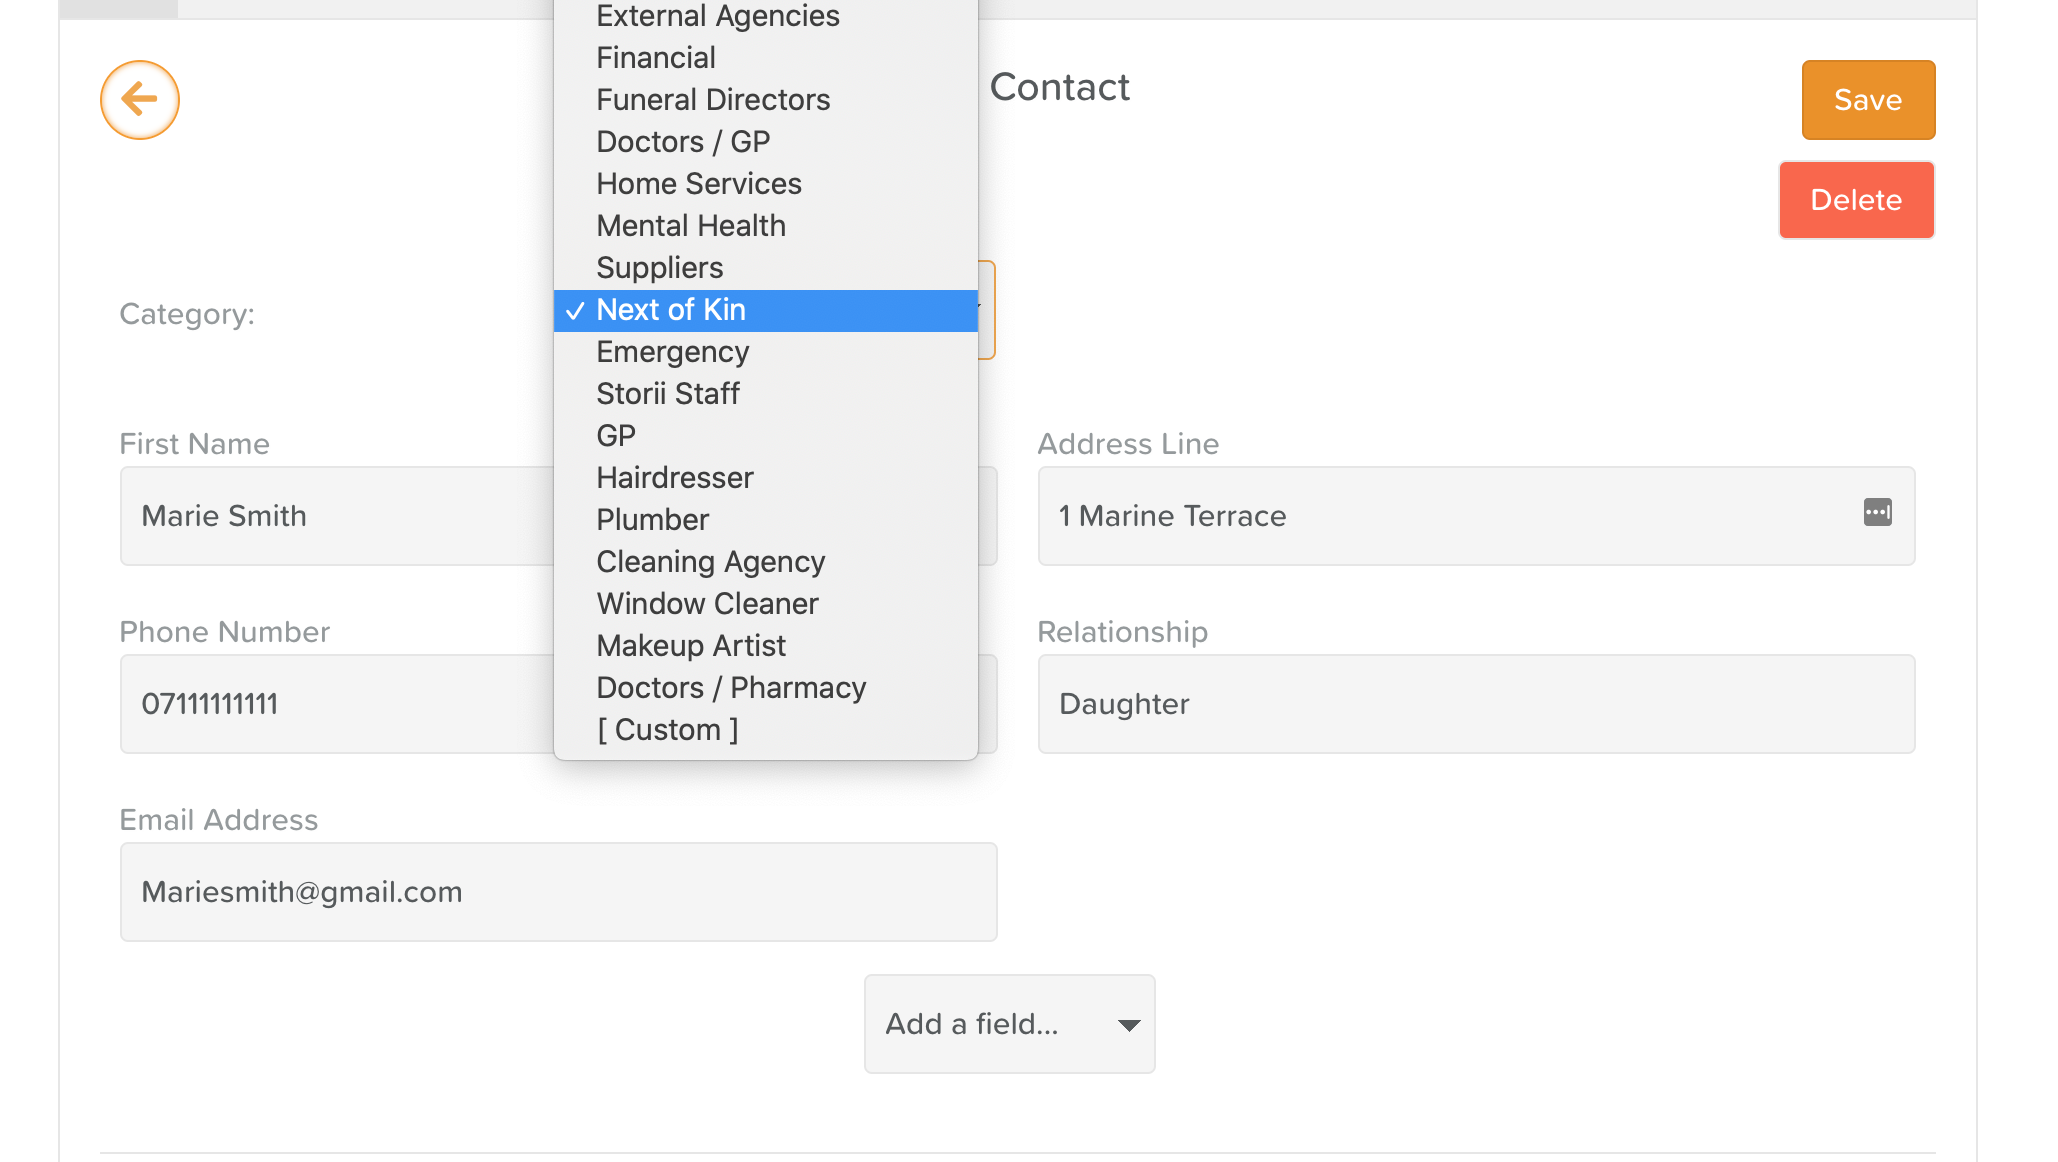
Select a category for the contact and fill out all relevant details.
Linking Contacts to Service Users
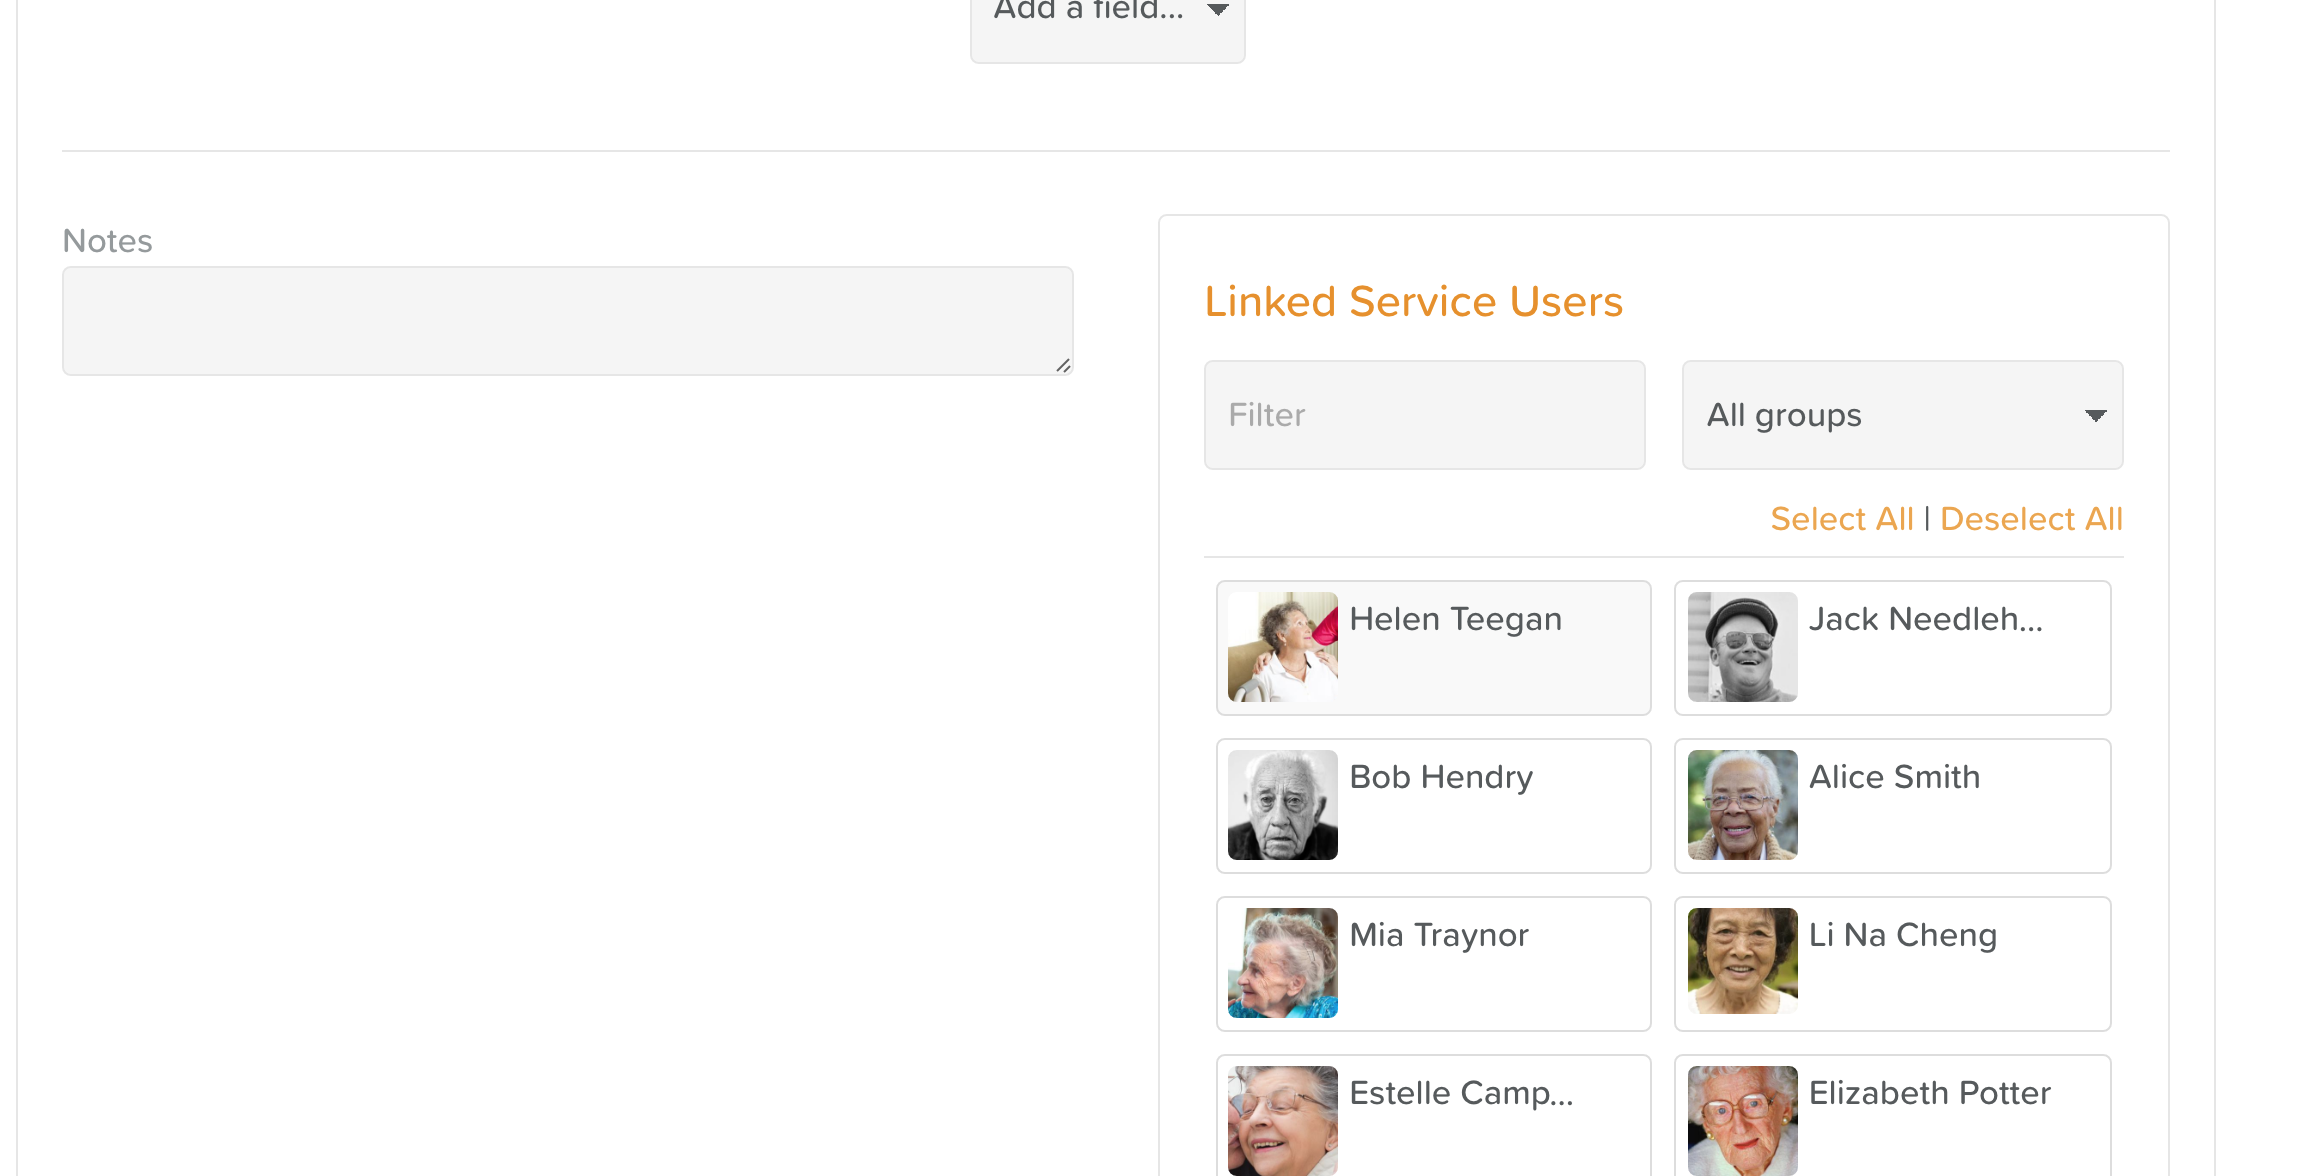
Once you've filled out the contact's details, you can link Service Users (e.g. next of kin, medical practitioners, hairdressers, etc). When a contact is linked to a service user, they appear in the Contacts section of that Service User's profile.
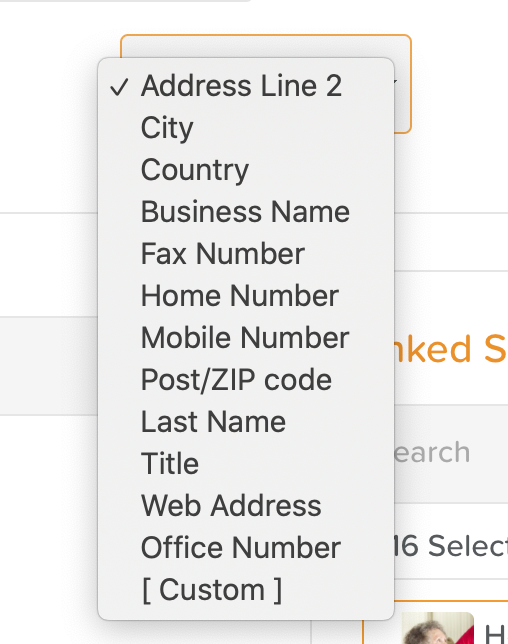
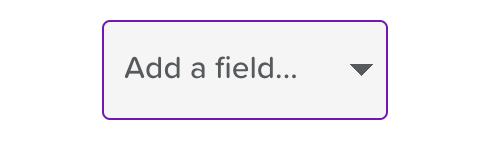
You can add custom fields to any contact by clicking on the Add Field drop-down menu and selecting one from the list or clicking [Custom] to enter your own.
How to Edit & Delete Contacts
Click on Contacts from the main Dashboard or a Service User's Dashboard.
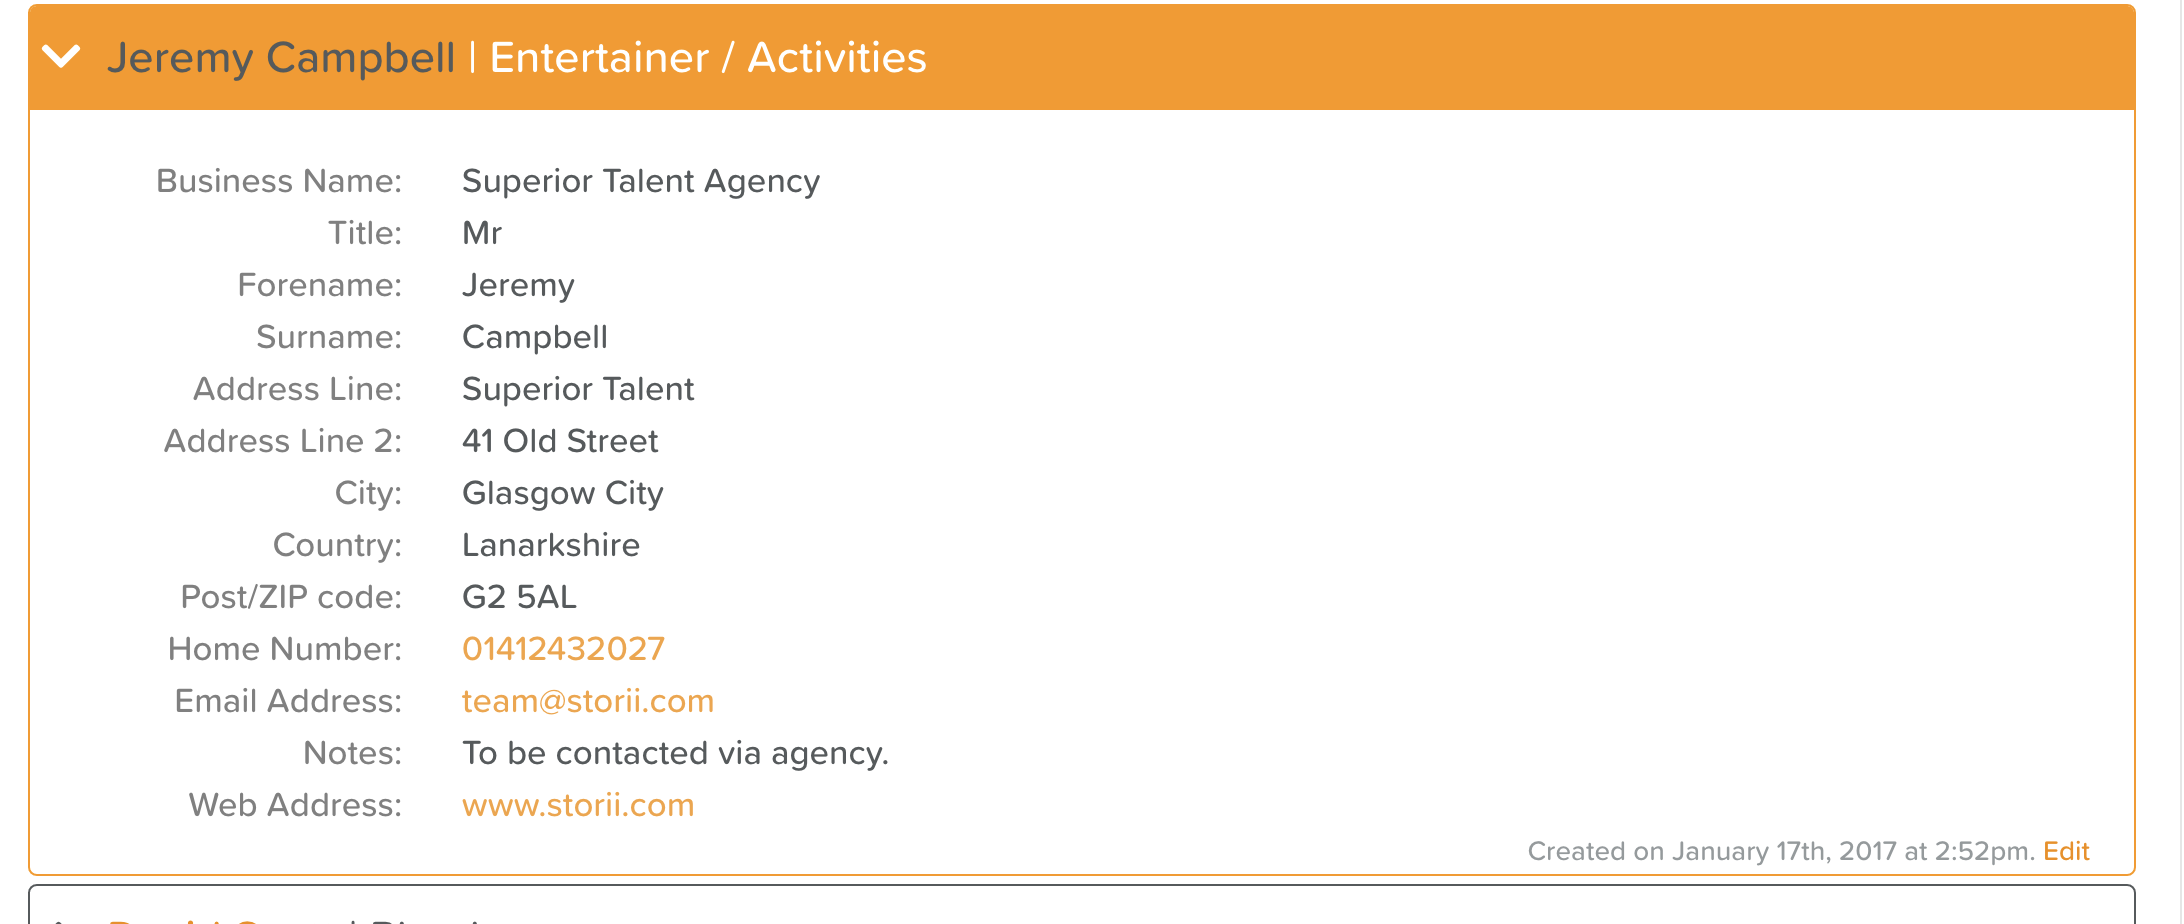
Find the contact you wish to edit and click on their name.
Next, click the text that says Edit in the bottom right-hand corner.
From here you will be able to make changes to the contact details.
Deleting a Contact
If you wish to delete the contact, once you've clicked Edit (as specified above) you can hit the Delete button in the top right-hand corner of the screen.
How to Add a New Field to Contacts
Whether you are adding a new contact or editing an existing one, you have the option to create custom fields. This allows you to store any data you need to about the contact.
Locate the Add a field... box at the bottom of the contact screen.
Click on [Custom].
Type in the field name.
Click Add.
How to Print & Export Contact Lists
Click on Contacts from the Dashboard
Click on Export CSV
This will download a CSV spreadsheet to your computer. You will then be able to extract whatever data you need from the list for admin purposes or mail merges.

