
Register Settings Overview
The Register Settings page is where you set up how the Register works for your organization. You can customize Register tags, require signatures when people sign in or out, and choose what the Register app shows on its main page.
📝 Depending on your organization’s setup, Participants may appear as Service Users, Residents, Clients, or another term.
Opening Register Settings
Go to the Register from your StoriiCare dashboard.
Click the settings/cog wheel (⚙️).
The Register settings page opens.
Settings are organized into three tabs: Participants, Staff, and Visitors. Register tags and signature requirements are set separately for each tab, so you can configure participants differently from staff or visitors. Register app settings are shared across all three.
To return to the Register, click the back arrow in the top-left corner.
Register Tags
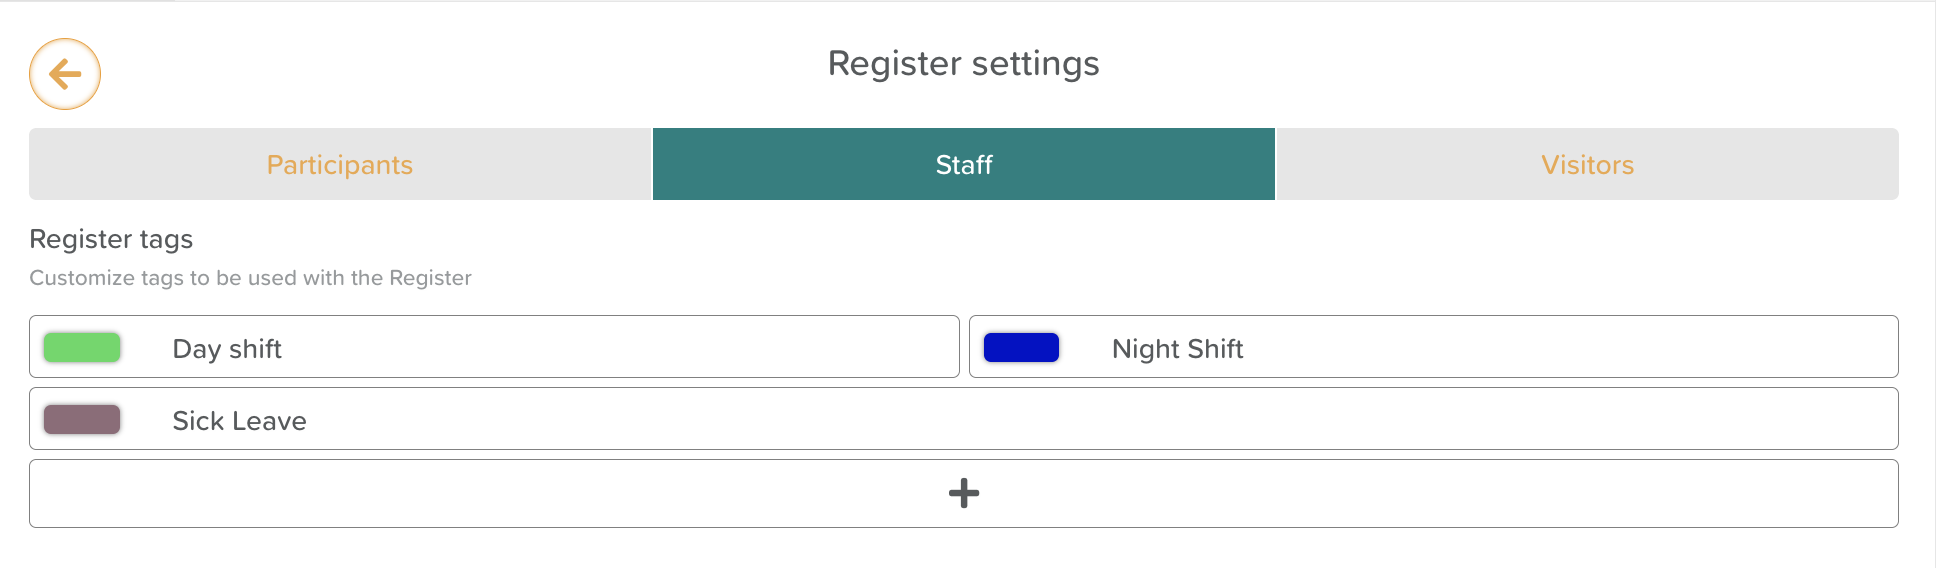
Register tags help you categorize attendance, for example Illness, Vacation, Appointment, or No Show. Staff can apply them when signing people in or out, and they appear in your Register logs and attendance reports.
To add a tag, click the + button.
To edit a tag’s name or color, click the pencil icon.
To save a tag, click the disc icon.
Tags are set separately for each tab, so participant tags won’t appear for staff or visitors.
For more detail, see How to Customize & Apply Register Tags.
General Settings: Requiring Signatures

You can require a drawn signature whenever someone is signed in, signed out, or both.
Setting | What it does |
|---|---|
Require signature on sign-in | Staff must draw a signature before a sign-in can be completed. |
Require signature on sign-out | Staff must draw a signature before a sign-out can be completed. |
Both settings are off by default. To turn one on:
Select the tab you want to update (Participants, Staff, or Visitors).
Switch on Require signature on sign-in, Require signature on sign-out, or both.
Click Save under General settings.
Changing these settings on one tab doesn’t affect the others. For example, you can require signatures for participant sign-outs only.
What staff will see
When a signature is required:
The confirm button stays disabled until a signature is drawn. Typing a name in Signed by, tapping the signature pad, or leaving it blank won’t count.
If the signer clears their signature, the confirm button is disabled again.
When signing in or out in bulk, the signing window lists everyone selected. One signature covers everyone in the group.
Canceling the signing window leaves attendance unchanged.
Viewing signatures
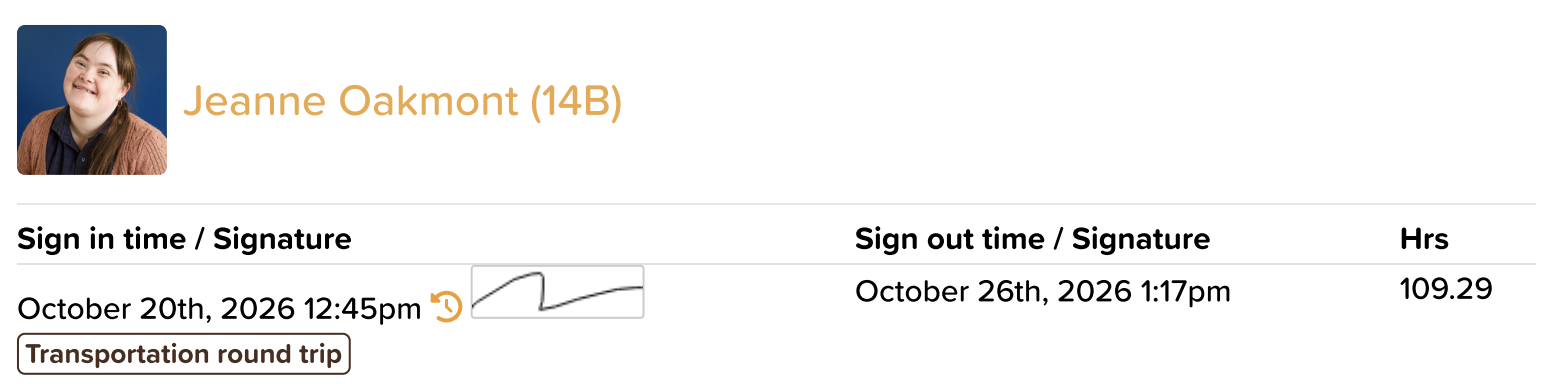
Captured signatures are saved with the Register log and labeled as sign-in or sign-out signatures. You can view them in the Register logs.
💡 Turning on a signature requirement doesn’t affect past entries. Only sign-ins and sign-outs recorded after the setting is saved will require a signature.
For more on signing people in and out, see How to Sign Participants In & Out and How to Bulk Sign In & Out.
Register App (Shared Across All Sections)
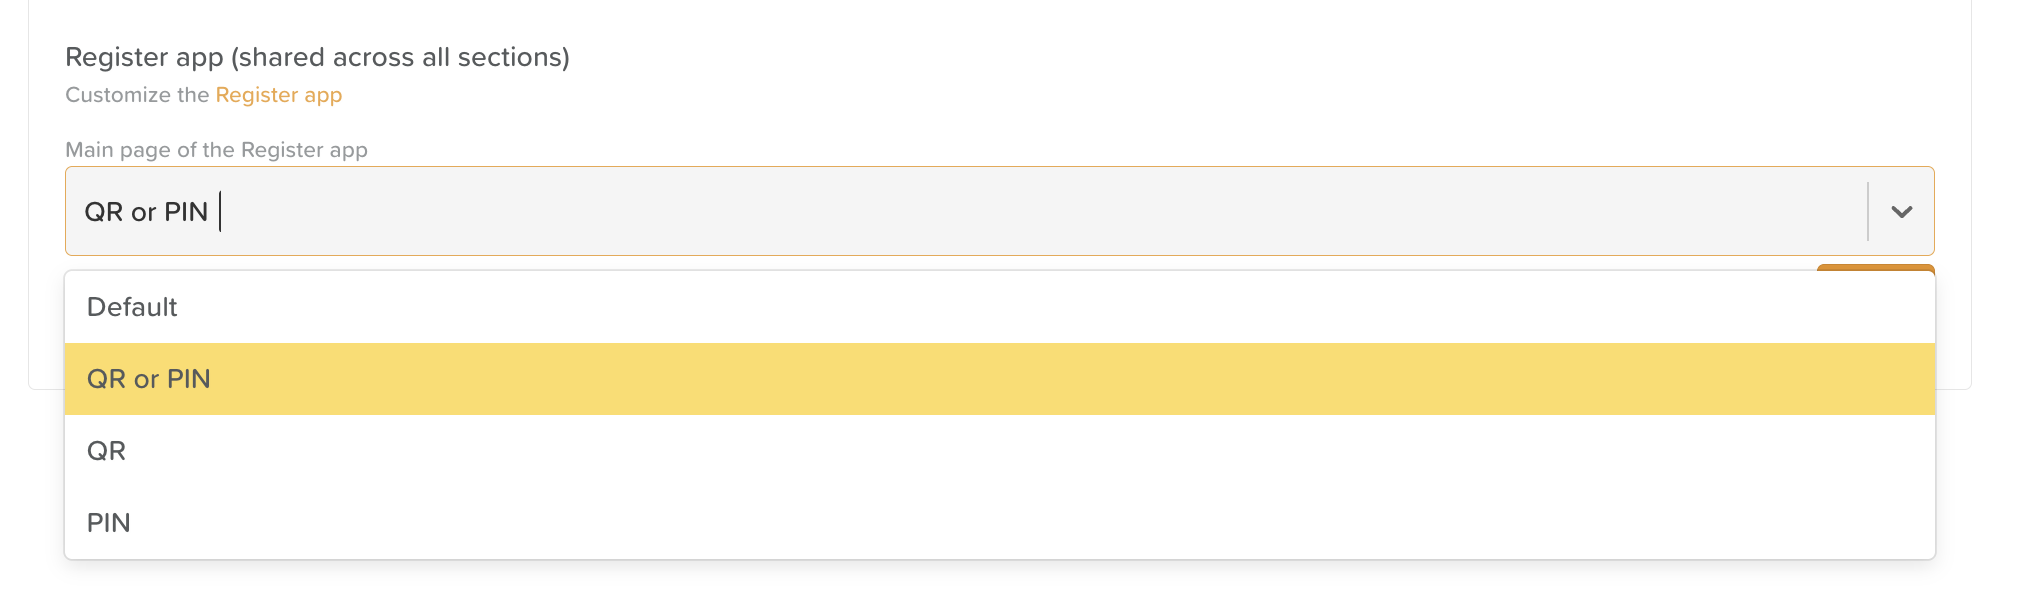
These settings control the Storii Register app, which is often loaded on a tablet at your front desk for quick sign-in and sign-out. They apply to all three tabs.
Main page of the Register app: choose what the app shows when it opens: PIN pad, QR scanner, or the option to choose between the two.
Click Save under Register app to apply your changes.
For more about the app, see A Guide to the Register App.
⚠️ Remember to save each section. General settings and Register app settings each have their own Save button. Saving one section doesn’t save the other.
Need More Help?
If you need further assistance, email our support team at support@storii.com.