
A Guide to Digital Signage
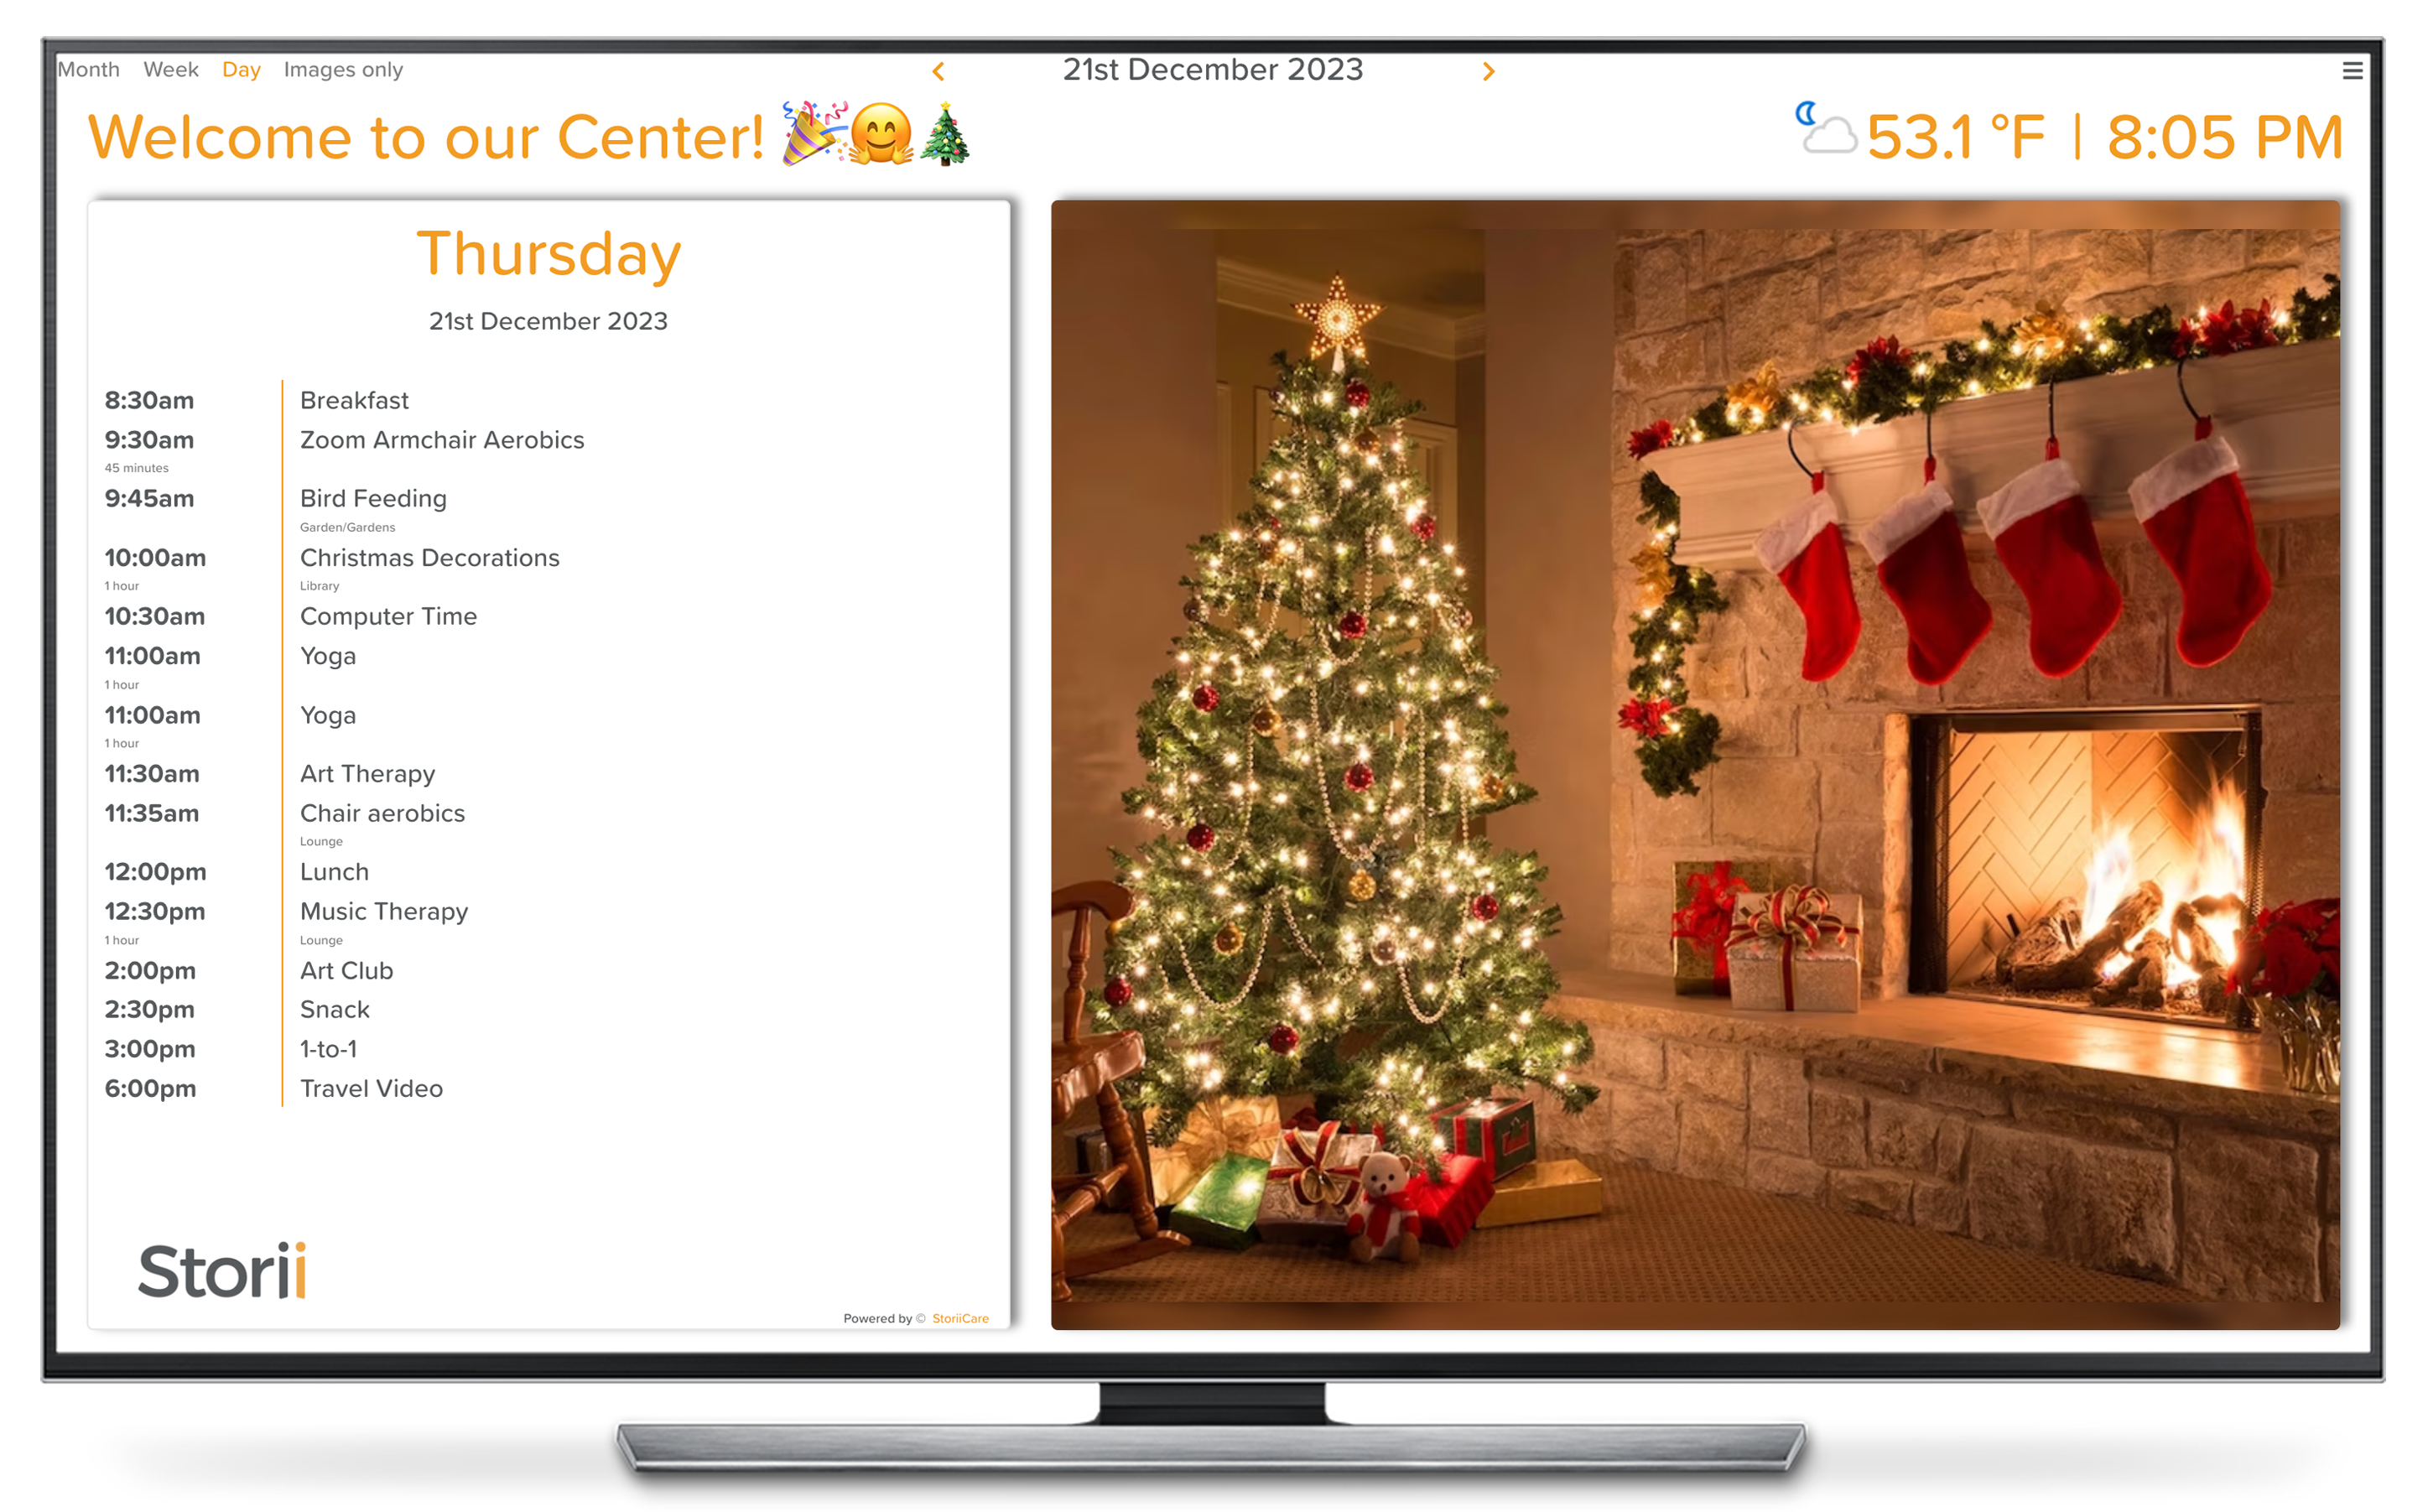
The StoriiCare Digital Signage App turns any smart TV or television with an HDMI socket into a powerful digital display for your Calendar. Each organisation can create multiple customised calendar displays for different purposes — for example, one tailored for a reception area and another for participants.
Setting Up Digital Signage
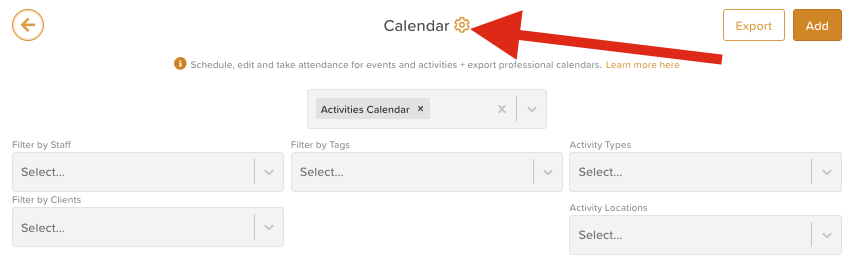
Open the Calendar feature and click the settings wheel icon to access Calendar Settings
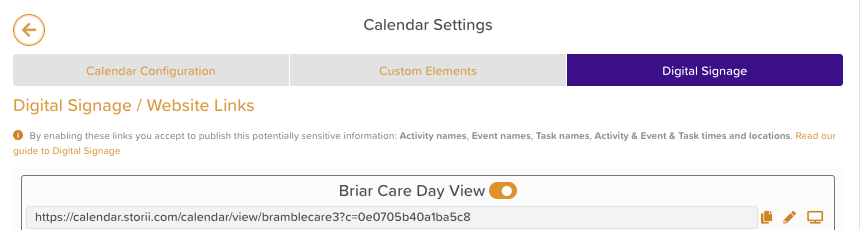
Select the Digital Signage tab to access your calendar links
Creating and Editing a Digital Signage Display
By clicking on the pencil icon next to your Digital Signage link, you can configure the following elements (click on +More options to view all):
General
Name — update the display name for this digital signage calendar
Filters — use the dropdowns to create links for specific individuals (resident rooms) or locations (programs that take place in a specific room/site)
Navigation — allow or restrict the ability to rotate between views
Display
Custom Color— select a color to match your organization's branding using a hex code
Views — choose which views are available (Month, Week, Day, and/or Images Only)
Circulate between views — set the calendar to automatically cycle between views
Scroll Speed — determine the pace of circulation between views
Font Size — determine how small or large the font appears on the screen
Custom Logo & Size — display your organization's logo on the signage for consistent branding
Custom Text — add a personalized welcome message to the screen
Live Weather Feed — show real-time local weather with a Celsius/Fahrenheit Temperature toggle
Orientation — choose between portrait and landscape display modes
Time — toggle on to display the current time on the digital signage screen
Custom Media Albums — select specific media folders to display images on the signage. By default, this will be the Public Calendar folder in the Media tab.
Once configured, click Save.
Activating and Previewing a Calendar Link
Calendar links can be turned on and off at any time.
Toggle the switch next to the calendar name to enable or disable it
To preview how the display will appear, click the documents icon next to the digital signage link to copy it to your clipboard

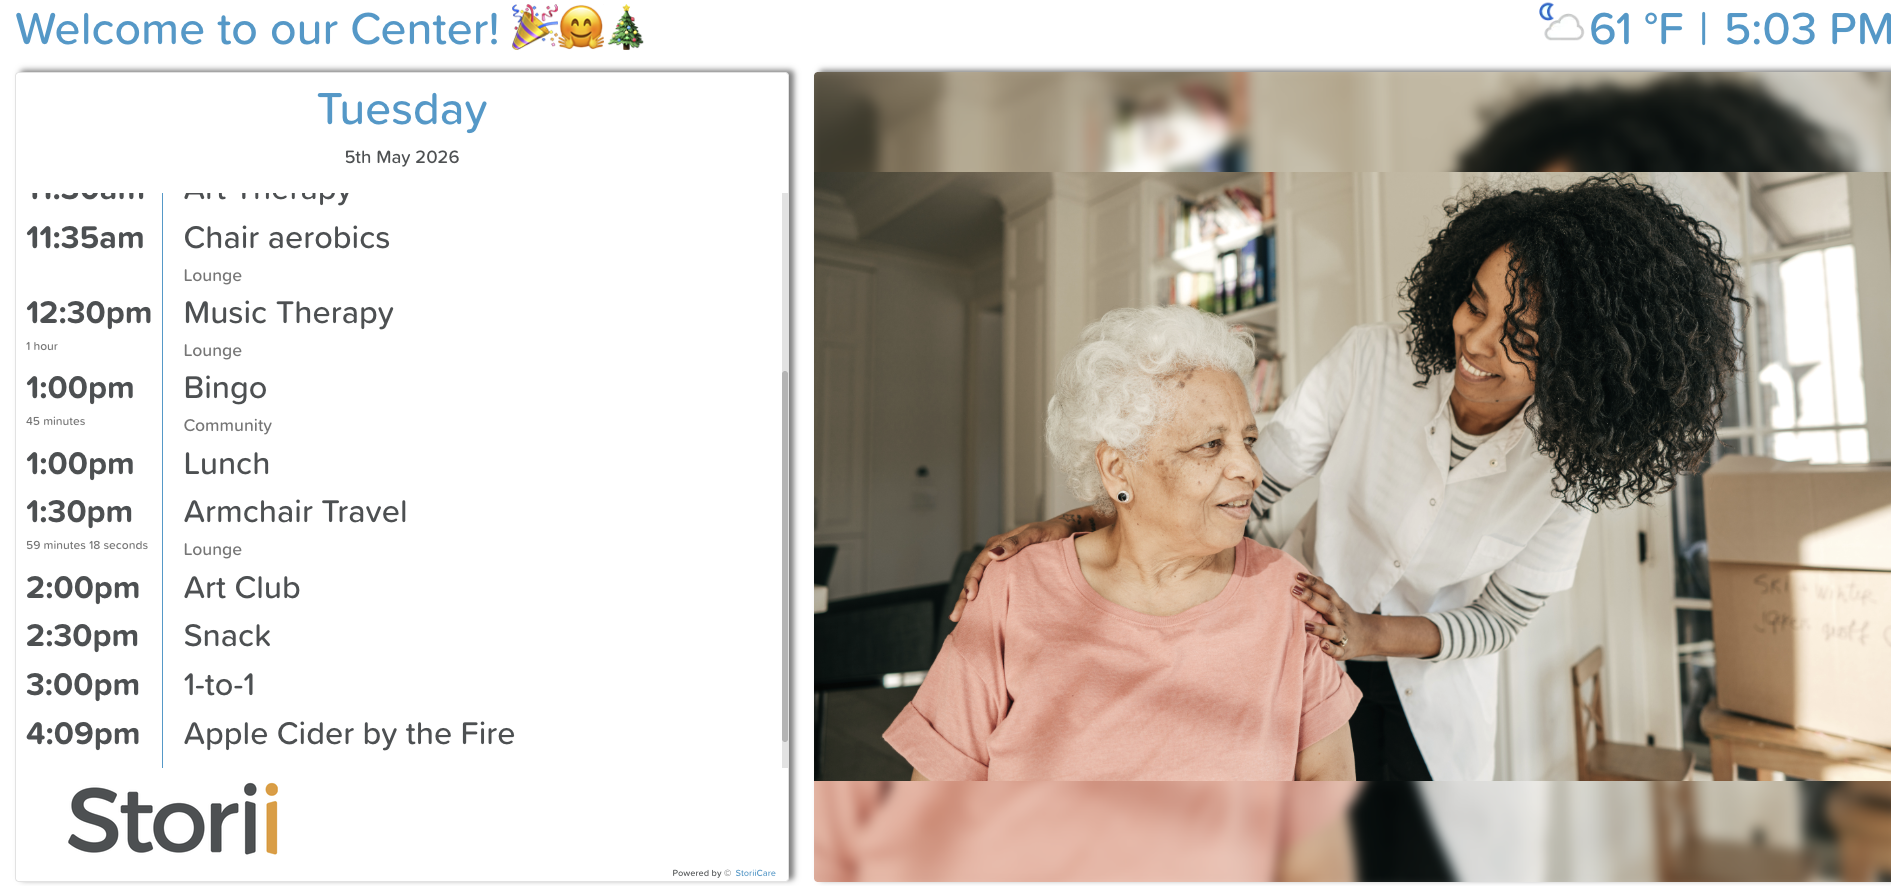
Paste the link into a new browser tab to view the calendar as it will appear on screen
Displaying Your Calendar on a Smart TV
Plug the Amazon Fire TV Stick into an HDMI port on your TV or monitor — if using a smart TV, skip this step
Ensure your TV or monitor is set to the correct input source (e.g., HDMI 1 or HDMI 2)
Download the StoriiCare Digital Signage App from the Amazon App Store or Google Play Store
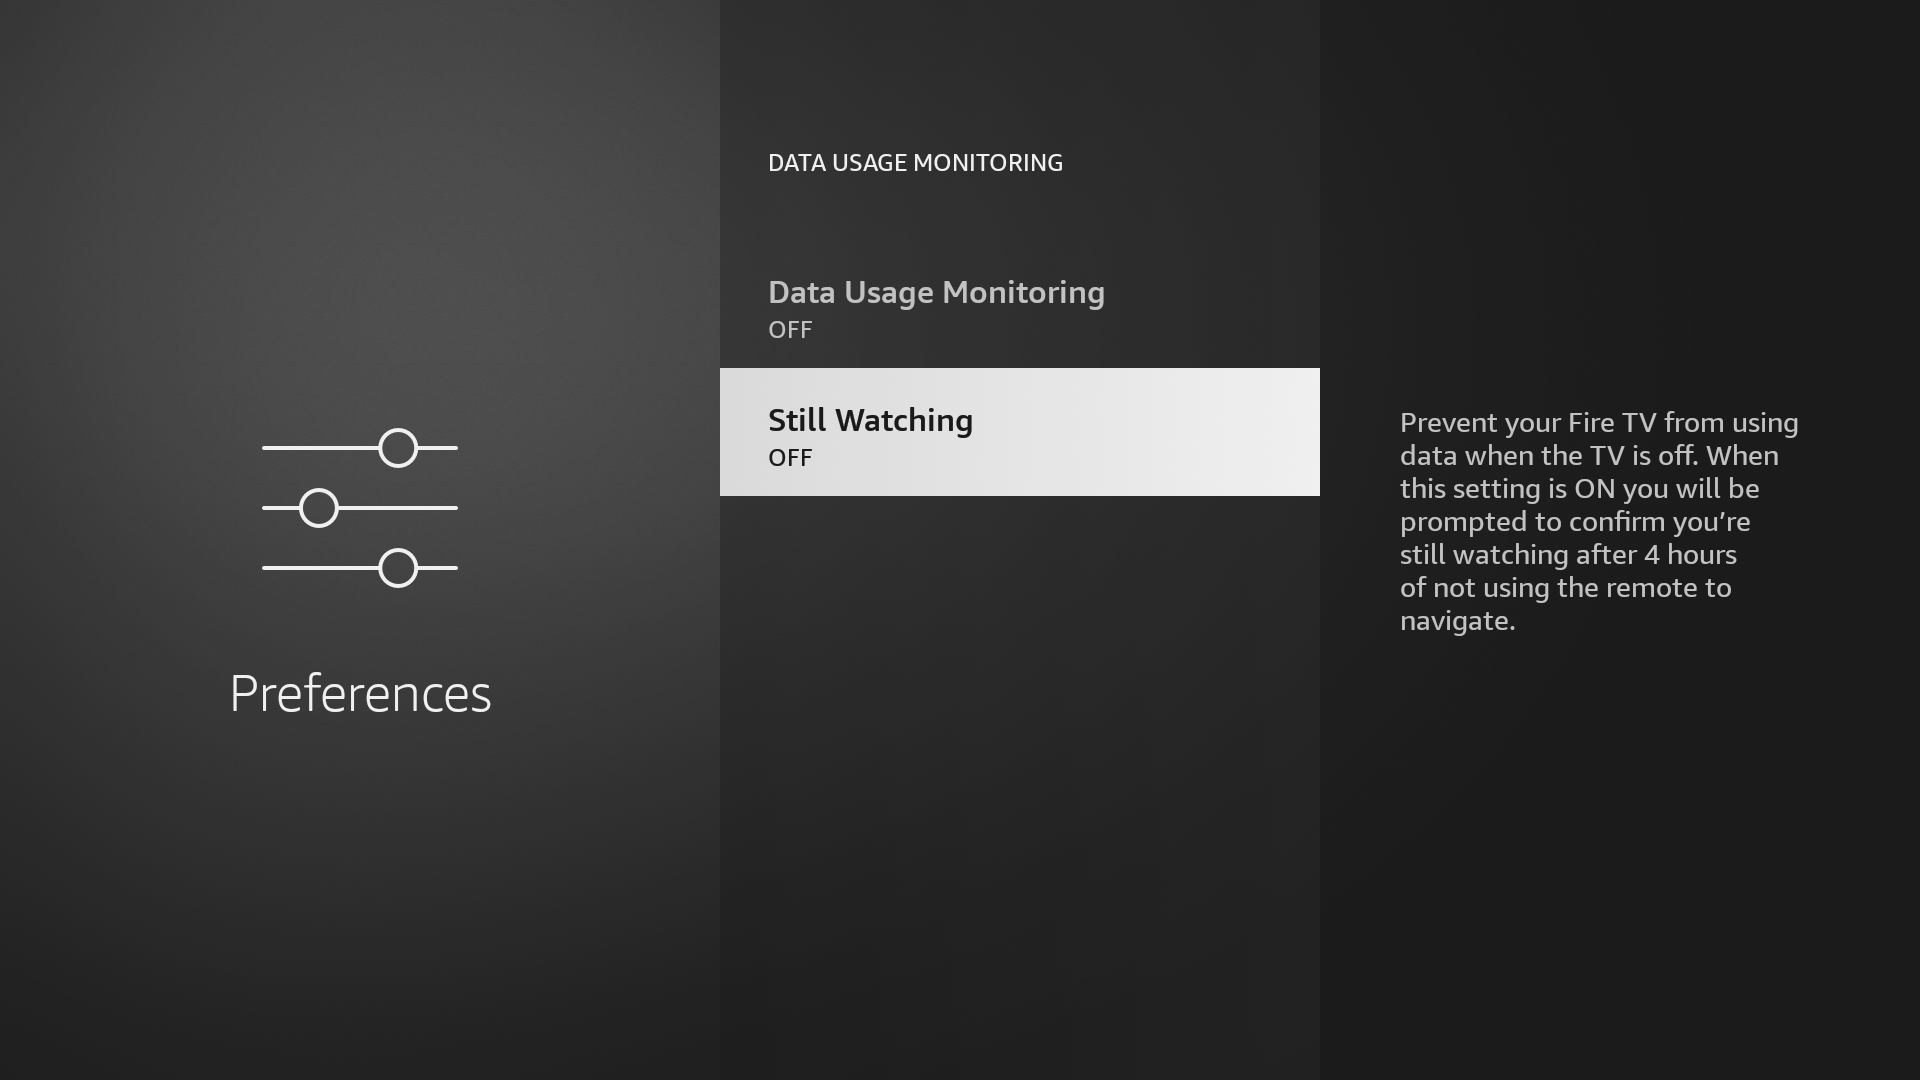
On any Fire TV device, navigate to Settings > Preferences and turn both Data Usage Monitoring and Still Watching to Off — this is required to prevent the app from being interrupted by the Fire TV's inactivity settings
In StoriiCare, go to Calendar Settings and click the TV icon next to the calendar you wish to display to retrieve your calendar code
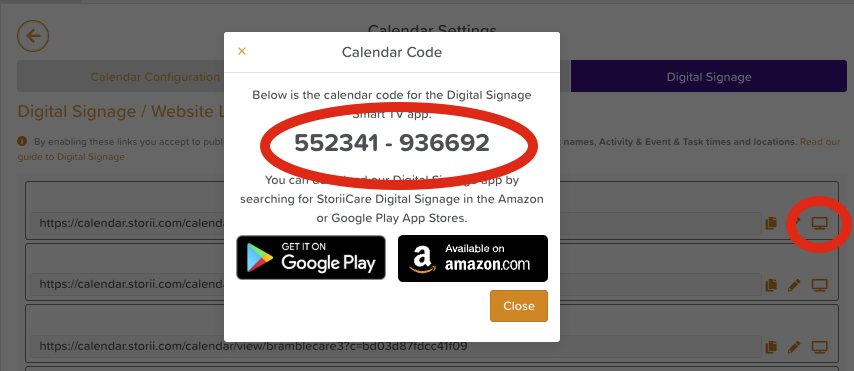
Enter the code into the StoriiCare Digital Signage App
Your StoriiCare Calendar will now load and display on the screen — no further action is required
Digital Signage links can also be used to embed Calendars on your own website. To learn how to do this, please visit our Calendar website implementation Guide.
Changing the Images Displayed on Digital Signage
Images displayed on the Day or Images Only View are sourced from the Public Calendar folder in the Media tab by default. However, users can select which Media album a digital signage calendar pulls from in the Digital Signage link's settings.
From the Dashboard, navigate to Media and open the Public Calendar (or whichever album is set for the Digital Signage link) folder
Upload images to this folder — they will appear in a slideshow
Remove images from the folder to stop them from displaying
Can I Show More Than One Calendar on Digital Signage?
You can’t set a Digital Signage display to rotate between separate calendars by selecting several of them. However, you can show everything combined on one display: when creating or editing your Digital Signage link, choose All Activities, All Events or All Calendars, and your activities and events from every calendar will appear together.
If you need a separate display for each calendar instead (for example, one for reception and one for a program room), create a separate Digital Signage link for each.
Need More Help?
If you need further assistance, you can reach out to our support team by emailing support@storii.com. Our support team is ready to help you with any questions or issues you may have.