Configuring Calendar Settings
Calendar Settings
Click on the wheel/cog icon at the top of the page to change the settings.
Digital Signage/Website Links
There will already be a Digital Signage link turned on for you. However, you can make customisations to this and you can create more (i.e. you may want a photo display for the visitor’s lounge and an activity calendar display for the community room).
By clicking on the pencil icon within the existing link or selecting the + button to create a new link, you can:
Create the link name
Select which calendar you want to be displayed
Select which calendar view you want to be displayed (month, week, day) OR images only
Toggle on ‘Allow navigation’ if you’d like the display to rate between multiple views (i.e. week and day)
Select the primary color displayed
IMPORTANT: Please add any images or videos you’d like displayed on your Digital Signage to the Public Calendar folder located in the Media tab accessible from the Dashboard.
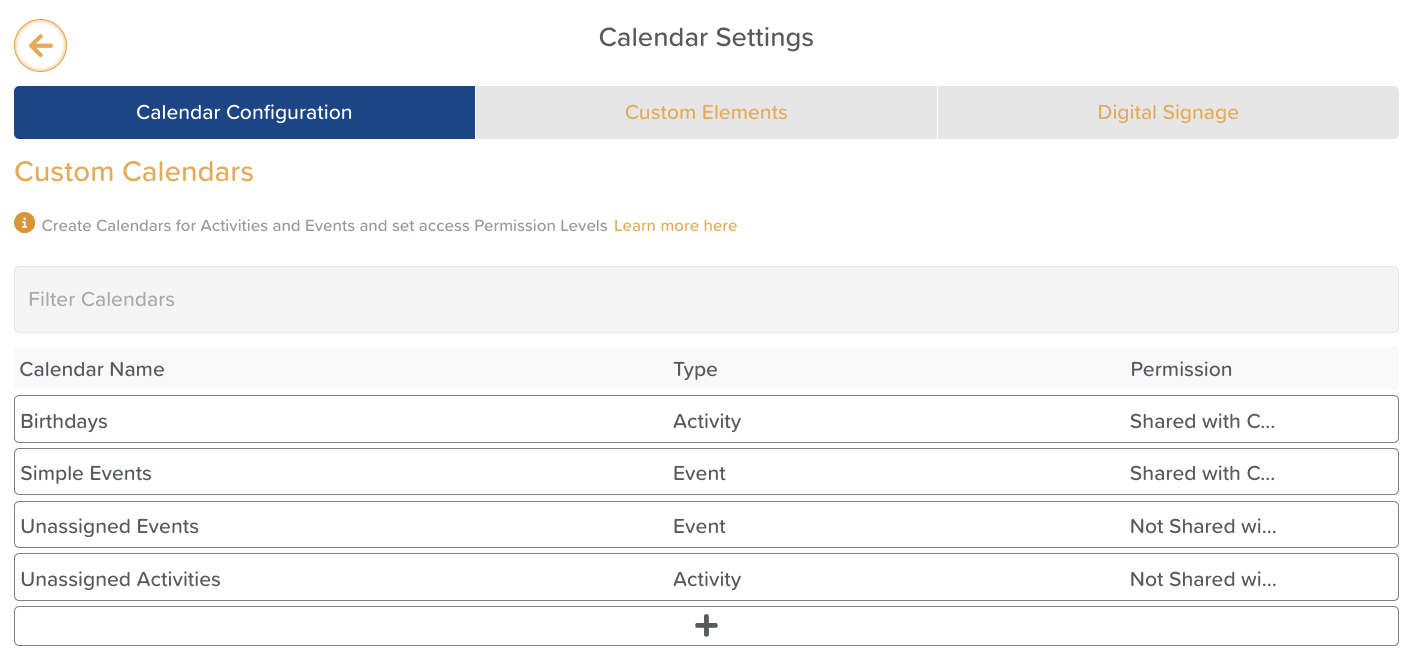
Custom Calendars
Set up all the calendars you need for your care community.
Click the + button to add a calendar;
Enter the Calendar Name;
Choose whether it is an Activity calendar (you can take attendance) or an Event calendar (more for appointments, meetings, etc.);
Choose the Calendar Access Permission (find more about it here);
Click the disc icon to save it.
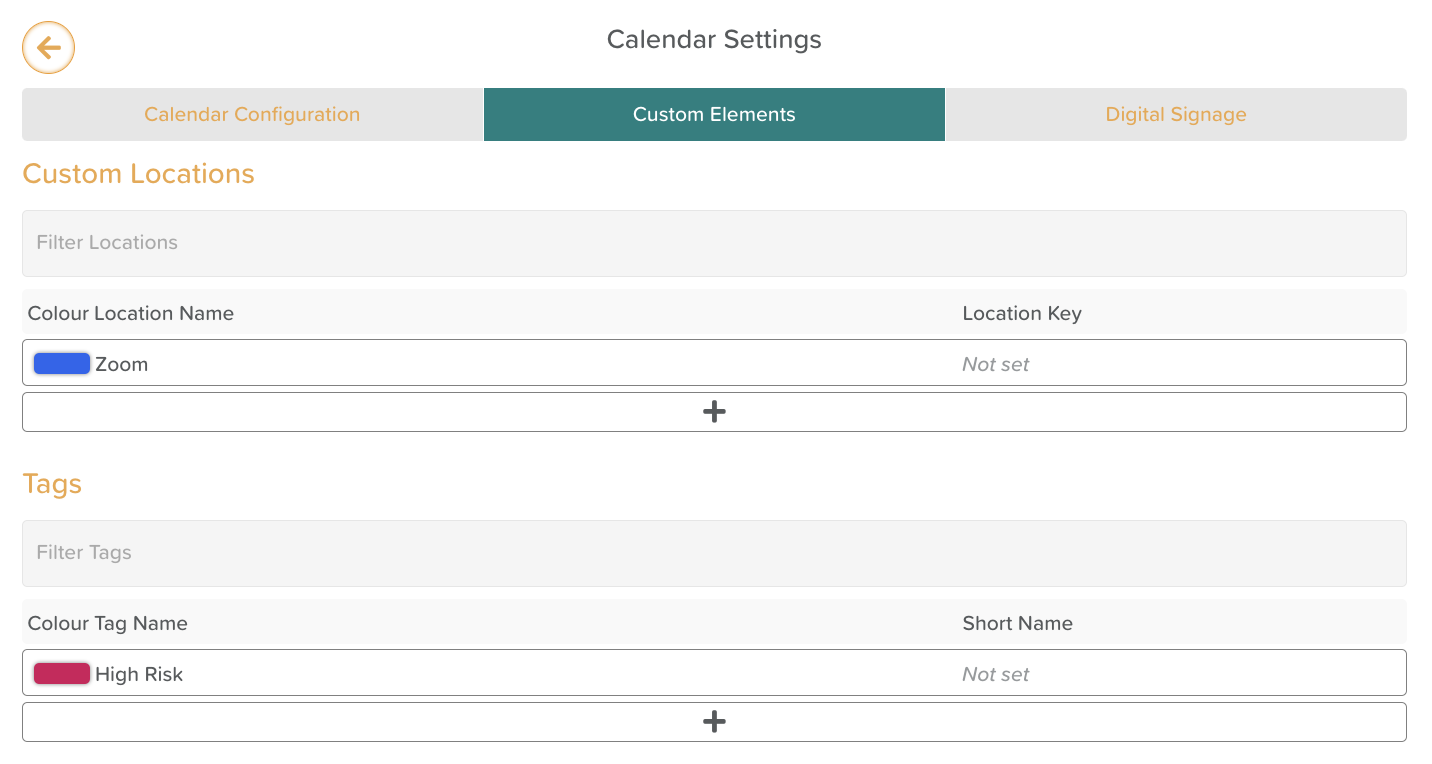
Custom Locations
Set up all the locations both inside and outside of your care community where an recorded activity or event may take place.
Click the + button to add a Location
Choose a colour for the Location Tag
Enter the Location Name
Enter an abbreviated Location Key
Click the disc icon to save it
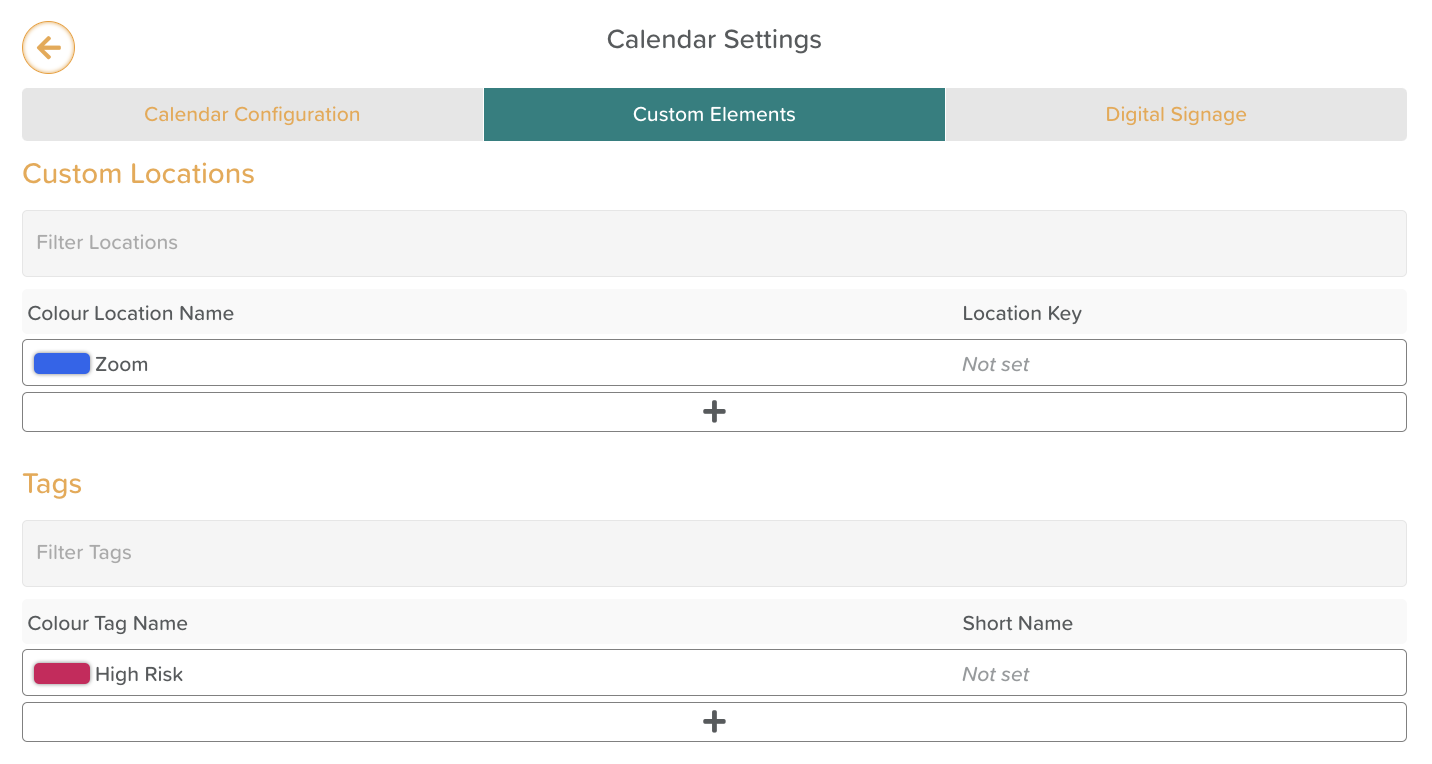
Tags
This is completely optional, but some users have various dimensions of wellness and like to tag the events and activities they offer accordingly. You can pull analytics reports on Wellness Tags as well. Examples of Wellness Tags could be Cognitive, Spiritual, Environmental, Social, Health & Wellbeing, etc.
Click the + button to add a Wellness Tag
Choose a colour for the Wellness Tag
Enter the Wellness Tag Name
Enter a Wellness Tag Short Name
Click the disc icon to save it
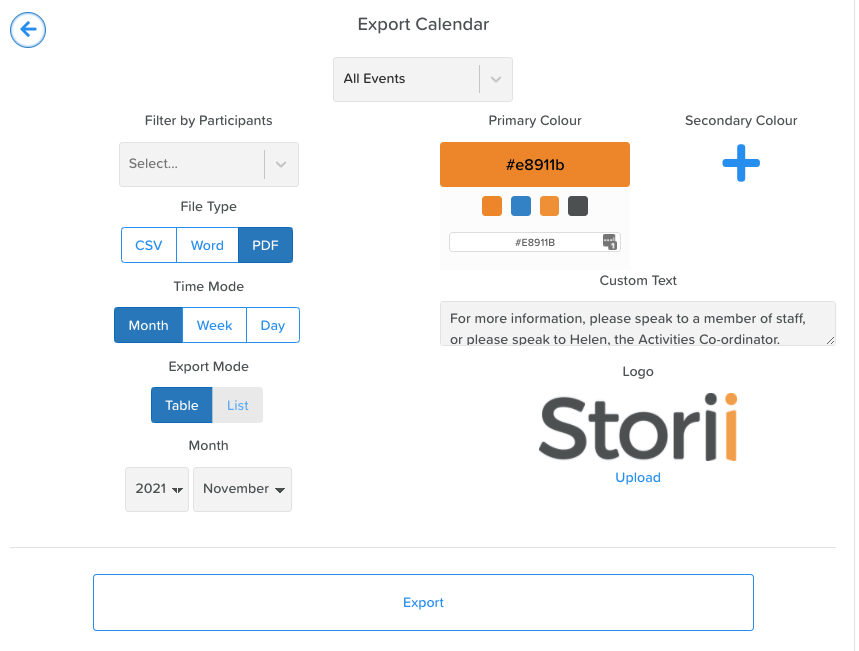
Calendar Export
From the main Calendar page, click on the Export button (top right of calendar).
You can configure settings for each calendar export by selecting the calendar from the drop-down menu at the top. Within this page, you have the option to:
Set primary colours
Set secondary colours
Add custom text
Upload a logo
Activities Database
Ready to get all your regularly recurring activities and events set up to be scheduled in your Calendar? You can use StoriiCare’s Activities import template (email team@storii.com if you’ve not received this) or you can manually add custom activities yourself.
To add a new Activity:
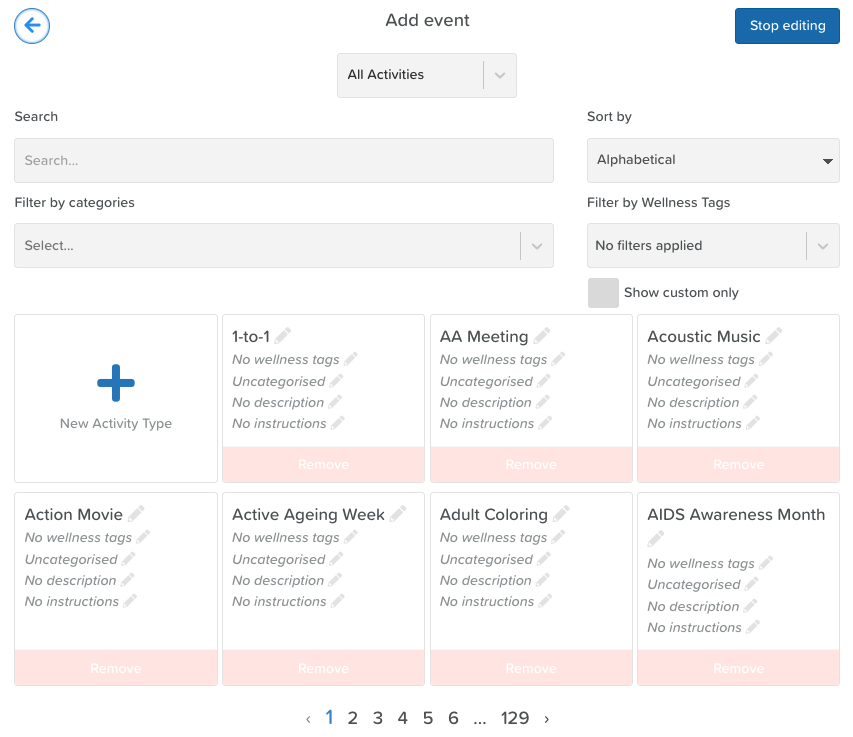
From the main Calendar page click on the Add button (top right)
Click on the Manage Activities button (top right)
Click on the + New Activity Type button
Click on the pencil icons to enter the activity information
Click Save
Click Stop Editing (top right) whenever you’re done adding new activities
Once saved, your activities will be searchable and available to be added to any Calendar.
Conclusion
We hope this guide helps you configure your calendars in StoriiCare precisely the way you want. If you have any questions or need further assistance, please reach out to our support team at support@storii.com. We’re always happy to help!


