
How to Populate a Face Sheet using Form Builder (Linked Properties)
In StoriiCare, you can automatically populate a participant's Face Sheet with data captured in forms by using Linked Properties when creating the form template. This streamlines data entry and ensures consistency across participant records.
What Are Linked Properties?
Linked Properties connect form fields directly to individual profile fields (like name, DOB, emergency contact, etc.) so that any information entered in the form is saved directly to the individual’s Face Sheet.
This works in reverse, as well. If a Face Sheet field is populated, the data displayed will appear automatically within a form using Linked Properties. This can save staff time, preventing them from having to enter redundant data that appears on most forms (like name, DOB, ID number, etc.).
This article primarily focuses on using Linked Properties for Face Sheet fields, but they can also display medications, medical conditions, and recent vital signs for participants.
Benefits of Using Linked Properties:
✅ Reduces duplicate data entry
✅ Keeps Face Sheets consistently updated
✅ Allows staff to gather intake data in one place
✅ Enables smart automation across records
Step 1: Open Form Builder
Navigate to the Forms section from the main dashboard.
Create a new form or open an existing one you want to link to the Face Sheet.
Step 2: Add a Linked Properties Component
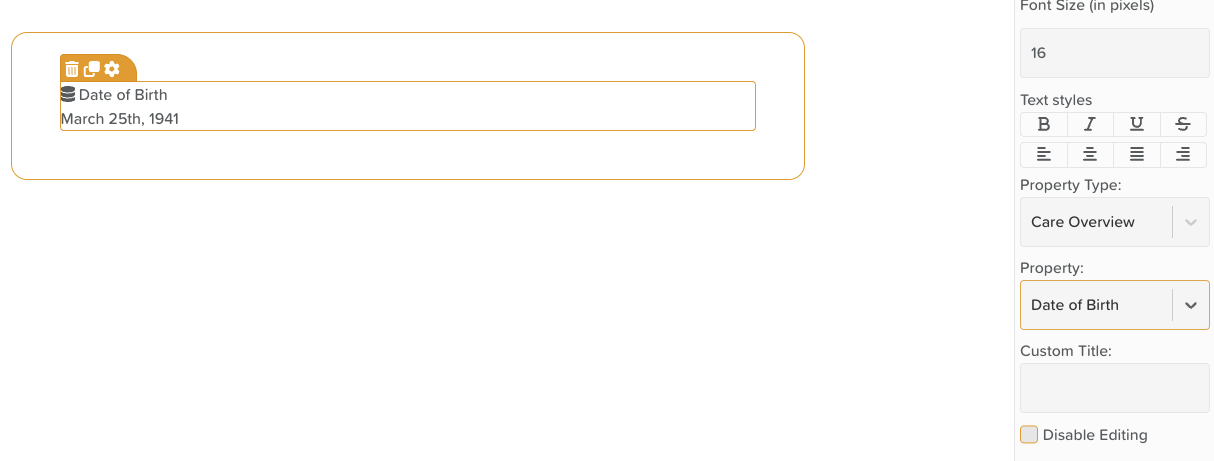
Drag and drop the Linked Properties component from the sidebar menu onto the page. It will initially say "No property selected".
If it says "Enable Participant selector in form settings to use Linked Property", you'll need to first click on the form template's settings wheel (top of page) and check the box that says "Show Participant Selector" in order to proceed.
Click the field and select the settings wheel to open the settings panel.
Use the Property Type dropdown menu to select Face Sheet
Use the Property dropdown to select the desired field. These correspond to fields on the individual’s Face Sheet.
Optional: Use the Custom Title field to enter an alternative field name (for example, if the Face Sheet uses an abbreviation like MID, you might choose to write Medicaid ID to explain it more clearly on a form).
Optional: Check the box that says Disable Editing if you wish to prevent staff from being able to make any changes to the Linked Property.
You can duplicate the linked property and make new selections to continue adding fields to your template.
Step 3: Syncing Settings
Once your linked properties are added, you will want to ensure that syncing is turned on. To do this, click the hamburger icon in the top right of the screen (next to the save button). Doing this will toggle on syncing for all Linked Property fields within the form template. If there are certain fields you do not want to sync for whatever reason, you can turn those off individually by clicking the hamburger icon next to the name of the property.
Step 4: Save and Use the Form
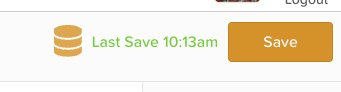
Click Save
Access the template settings and check the box that says Publish
When this form is filled out for a participant for the first time, the linked information is automatically saved to their Face Sheet. Any Linked Properties already populated on the Face Sheet will automatically appear as populated on the form.
Need More Help?
If you need further assistance, you can reach out to our support team by emailing support@storii.com. Our support team is ready to help you with any questions or issues you may have.