
A Guide to Using Tasks
The Tasks feature in StoriiCare helps care providers manage daily responsibilities, assign duties, track progress, and ensure important actions are completed on time. Tasks can be created for individual staff members or participants, groups of participants, or for general use within the care facility.
Accessing the Tasks Feature
From the Dashboard, click Tasks in the main navigation menu.
You will see a list of Current Tasks that are assigned to you or unassigned (meaning anyone can complete them).
Filter the list based on your preferences (e.g., Task Type, Task Status).
How to Create & Schedule a New Task
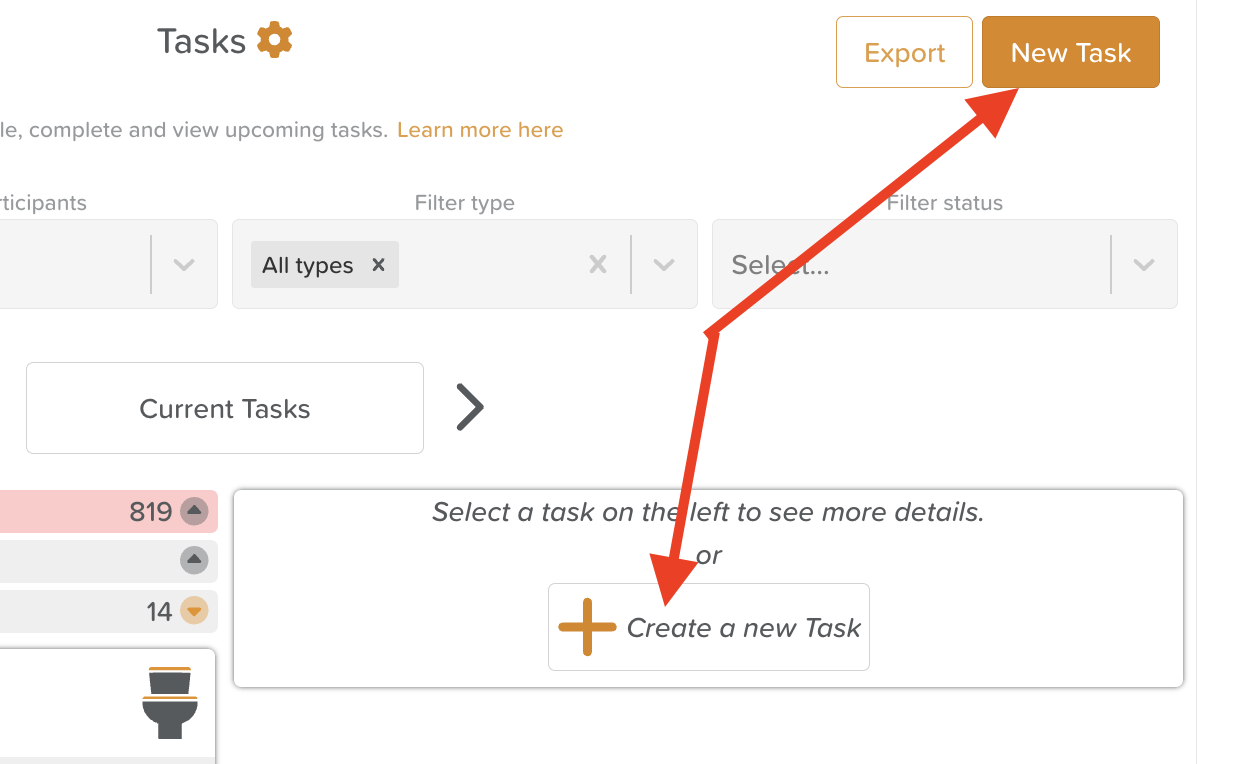
Click +Create a new Task or New Task.
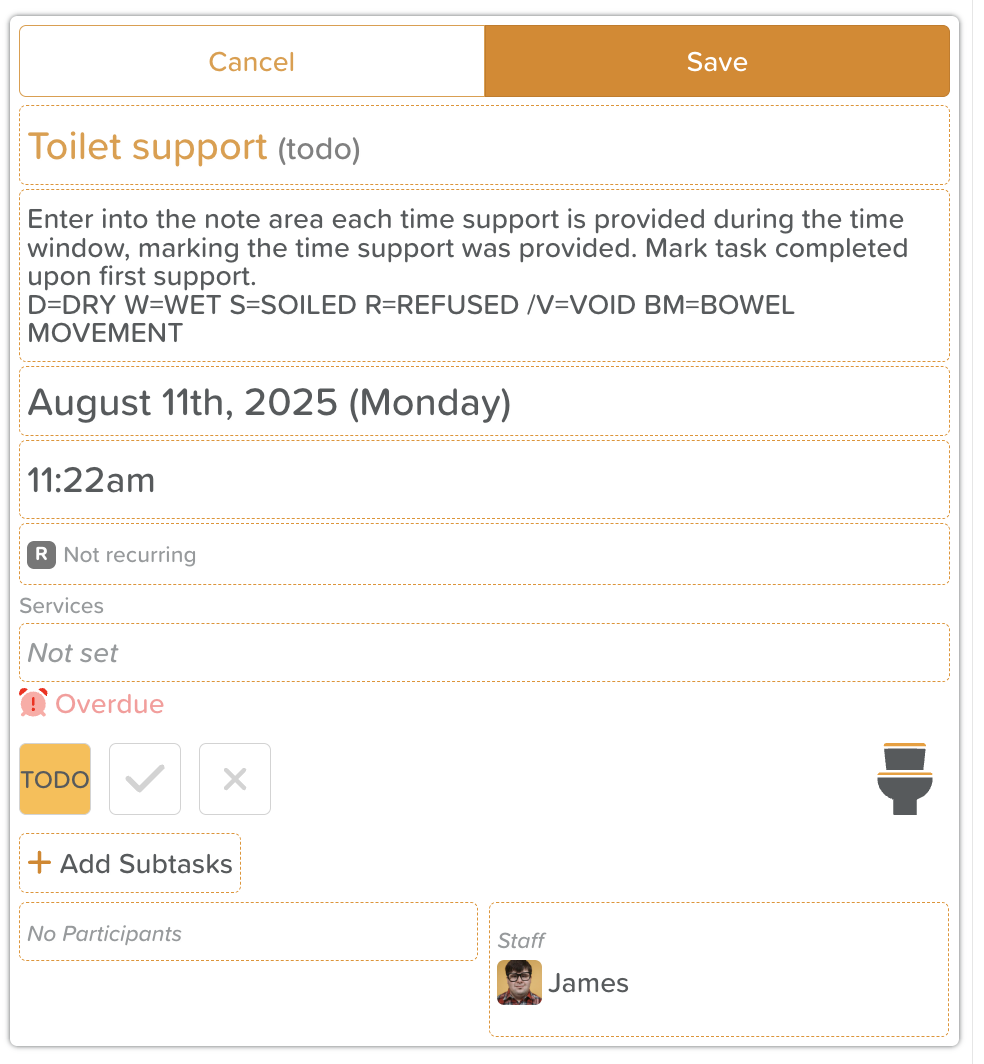
Use the search bar to type in the name of the task you want to create (i.e. Toilet Support).
Fill in the following details:
Description – Additional details or instructions (optional / if not already set).
Due Date / Start Date – Select when the task should be completed.
If this task should be triggered when a participant signs in or out of the center, use the dropdown menu to select Appears upon sign in or Appears upon sign out.
Time – Enter a specific time or a To/From time.
Recurrence (optional): If this is a one-off task, no selection is required. Otherwise, choose from the list of task recurrence frequencies (i.e. Every 2 hours, Weekdays, Annually, etc.) to ensure the task appears at that set frequency, reminding staff of what needs to be done.
Services (optional): If this is a non-billable task, no selection is required. If it is a billable task (i.e. showers, meal delivery, laundry service), select the associated Service charge for this task (this is set up in StoriiCare's Billing feature > Services).
Subtasks (optional): Subtasks can be used to create additional steps for staff to mark as complete (i.e. An "AM Routine" task might include dressing, brushing teeth, combing hair, applying lotion, and eating breakfast).
Users have the option to include a Progress Bar to visually show how close to completion subtasks are getting.
Users have the option to auto-complete the tasks when all subtasks are checked or to auto-complete subtasks upon task completion.
Under each subtask is the option to Set Description and Set Action (Log a Vital Sign, Fill a Form, Review a Care Plan). Users can set an action to link the task to a Vital Sign (i.e. Take Blood Pressure), a Form (i.e. to complete an annual Mental Capacity Assessment), or review the Care Plan feature at a set recurrence.
Assignee – Assign the task to a specific staff member(s), or leave unassigned if the desired outcome is to have that task visible for anyone to complete (i.e. Toilet Support). Assign the task to a specific participant(s), or group of participants. If creating a bulk task, an individual task will be created for each participant.
Creating Custom Task Types & Categories
Steps to Create a Custom Task Type:
Click on the Settings wheel icon at the top of the Tasks page.
Select +New Type and enter the following details:
Select an icon image (these are hardcoded and do not include an upload option).
Enter a Name/Title.
Choose a task Category.
Set a Description.
Include a Task Category List (optional).
For a Toilet Support task type, users may want to create and select a 'Results' list that includes items like "BM", "Void", "1-person assist", etc. Staff completing the task will be able to choose these options from a dropdown menu when completing the task.
Service Units (optional).
If this is a Billable task (i.e. shower, meal delivery, laundry service), users may select the service charge associated with the task type (this is set up in Billing > Services).
Buffer Time (optional).
Click Save (green disc icon in top right).
Steps to Create a Custom Task Category:
Click on the Settings wheel icon at the top of the Tasks page.
Select +New Type Category and enter the following details:
Select an icon image (these are hardcoded and do not include an upload option).
Enter a Category Name/Title.
Click Save (green disc icon).
Viewing & Managing Tasks
Task Viewing Options:
From the Dashboard: This provides a view of ALL tasks, with the ability to filter for more specific use cases.
From the Participant Profile: This provides a view of tasks specific to that participant.
How to Manage and Complete Tasks:
Filter & Sort: Use the filters to view tasks by staff assignee, participant assignee, task type, and task status (to-do, complete, incomplete).
To filter by date or date range, click where it says Current Tasks, to make a new selection.
If a user is revisiting a view where they have previously applied filters, they should check the status of the filters before reviewing data.
Status Updates: Click on the box with a check mark to mark tasks as Complete. Click the box with an X to indicate if it's an Incomplete task. Use the Notes area on a task to leave a reason for incompletion or any other important details pertaining to the task.
Editing Tasks: Select a task to open it, click the three dots in the right corner, and click Edit to update details, reassign, or change the due date.
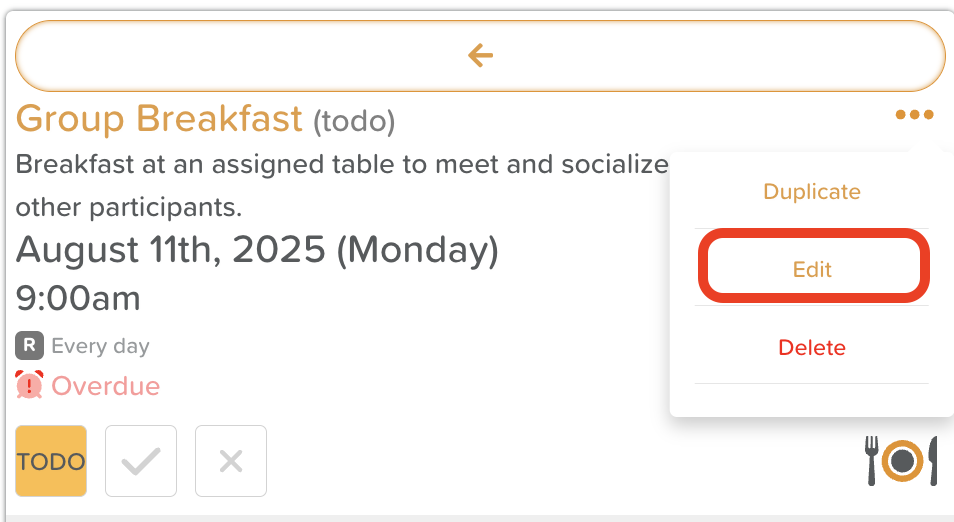
Deleting Tasks: Using the same three dots in the right corner, select Delete to completely remove a task. Keep in mind this will delete the individual task, it does not delete all tasks that were created in bulk.
Bulk Actions on Tasks: Users can take bulk actions on tasks by hovering over the Date or Past Overdue headings and clicking Select All. Tasks can be marked as Todo, Incompleted, Completed, or Deleted in bulk.


Task Notifications
StoriiCare doesn't currently offer push-notifications for Tasks, but staff are made aware of To Do and Overdue tasks through the following ways:
A red number icon will appear of the Tasks feature on the Dashboard, letting staff know how many tasks are due and overdue. Additionally, the Dashboard contains a Current Tasks widget on the right side.
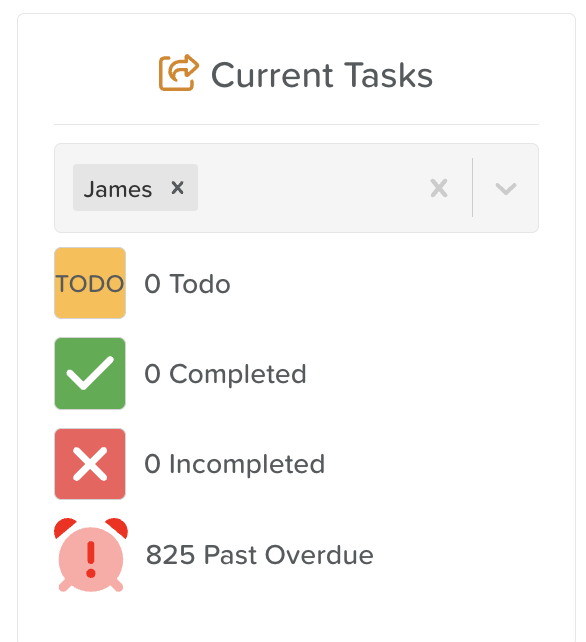
Overdue tasks are highlighted in red and remain in the Overdue section until marked complete.

⚠️ Important:
Do not rely on the system to communicate very urgent task requirements, as the recipient may not have sight of the system for some time. For urgent tasks, use in-person communication or other communication channels.
Tasks Reports
Tasks Reports allow you to review, analyze, and export task data, making it easier to track staff performance, monitor completion rates, and ensure accountability.
Accessing Tasks Reports:
There are two ways to access Tasks Reports:
From the Dashboard, click Tasks > Export (upper right corner)
From the Dashboard, click Exports > Tasks.
Filtering Task Data:
You can narrow down your report by using filters such as:
Date Range – Click where it says Current Tasks to choose a Specific Day, Date Range, or Upcoming Tasks.
Assignee – Filter by specific staff members or participants (including Groups).
Status – Choose between Todo, Completed, Overdue, or Incomplete.
Type – Filter tasks by a specific type or category.
Export Options:
PDF (broad) - This report includes the following columns: Task Name, Status, Scheduled for, Staff Assigned, Participant Assigned.
CSV (detailed) - This report includes the following columns: Task ID, Task Name, Subtasks, Status, Last Status Changed by, Time of Last Status Change, Actual Time Completed, Scheduled Date, Description, Created by, Time Created, Modified by, Time Modified, Staff Assigned, Participant Assigned, Completed while Overdue, Buffer Time, Categories, Notes, Notes created by, Recurring.
✅ We have received feedback on the ways we can improve Tasks Reports. These enhancements are on our product roadmap and will be available in a future update.
Tasks Best Practices
Create custom tasks and custom task categories for tasks that are tailored to your business needs and organized efficiently.
Check the details of a task before marking it as complete.
Do not rely on the Tasks feature for anything that is extremely urgent.
Leave tasks unassigned if they could be completed by any member of staff.
Regularly check Overdue and Upcoming sections to stay on track.
Regularly bulk delete overdue tasks to keep the system running at top speed!
Need More Help?
If you need further assistance, you can reach out to our support team by emailing support@storii.com. Our support team is ready to help you with any questions or issues you may have.