A Guide to Using Documents
Documents can be accessed from the Dashboard. You can also access a specific Service User's documents from their profile.
There are detailed instructions below. You can also watch this video, which gives a brief overview on how to carry out basic functions within Documents:
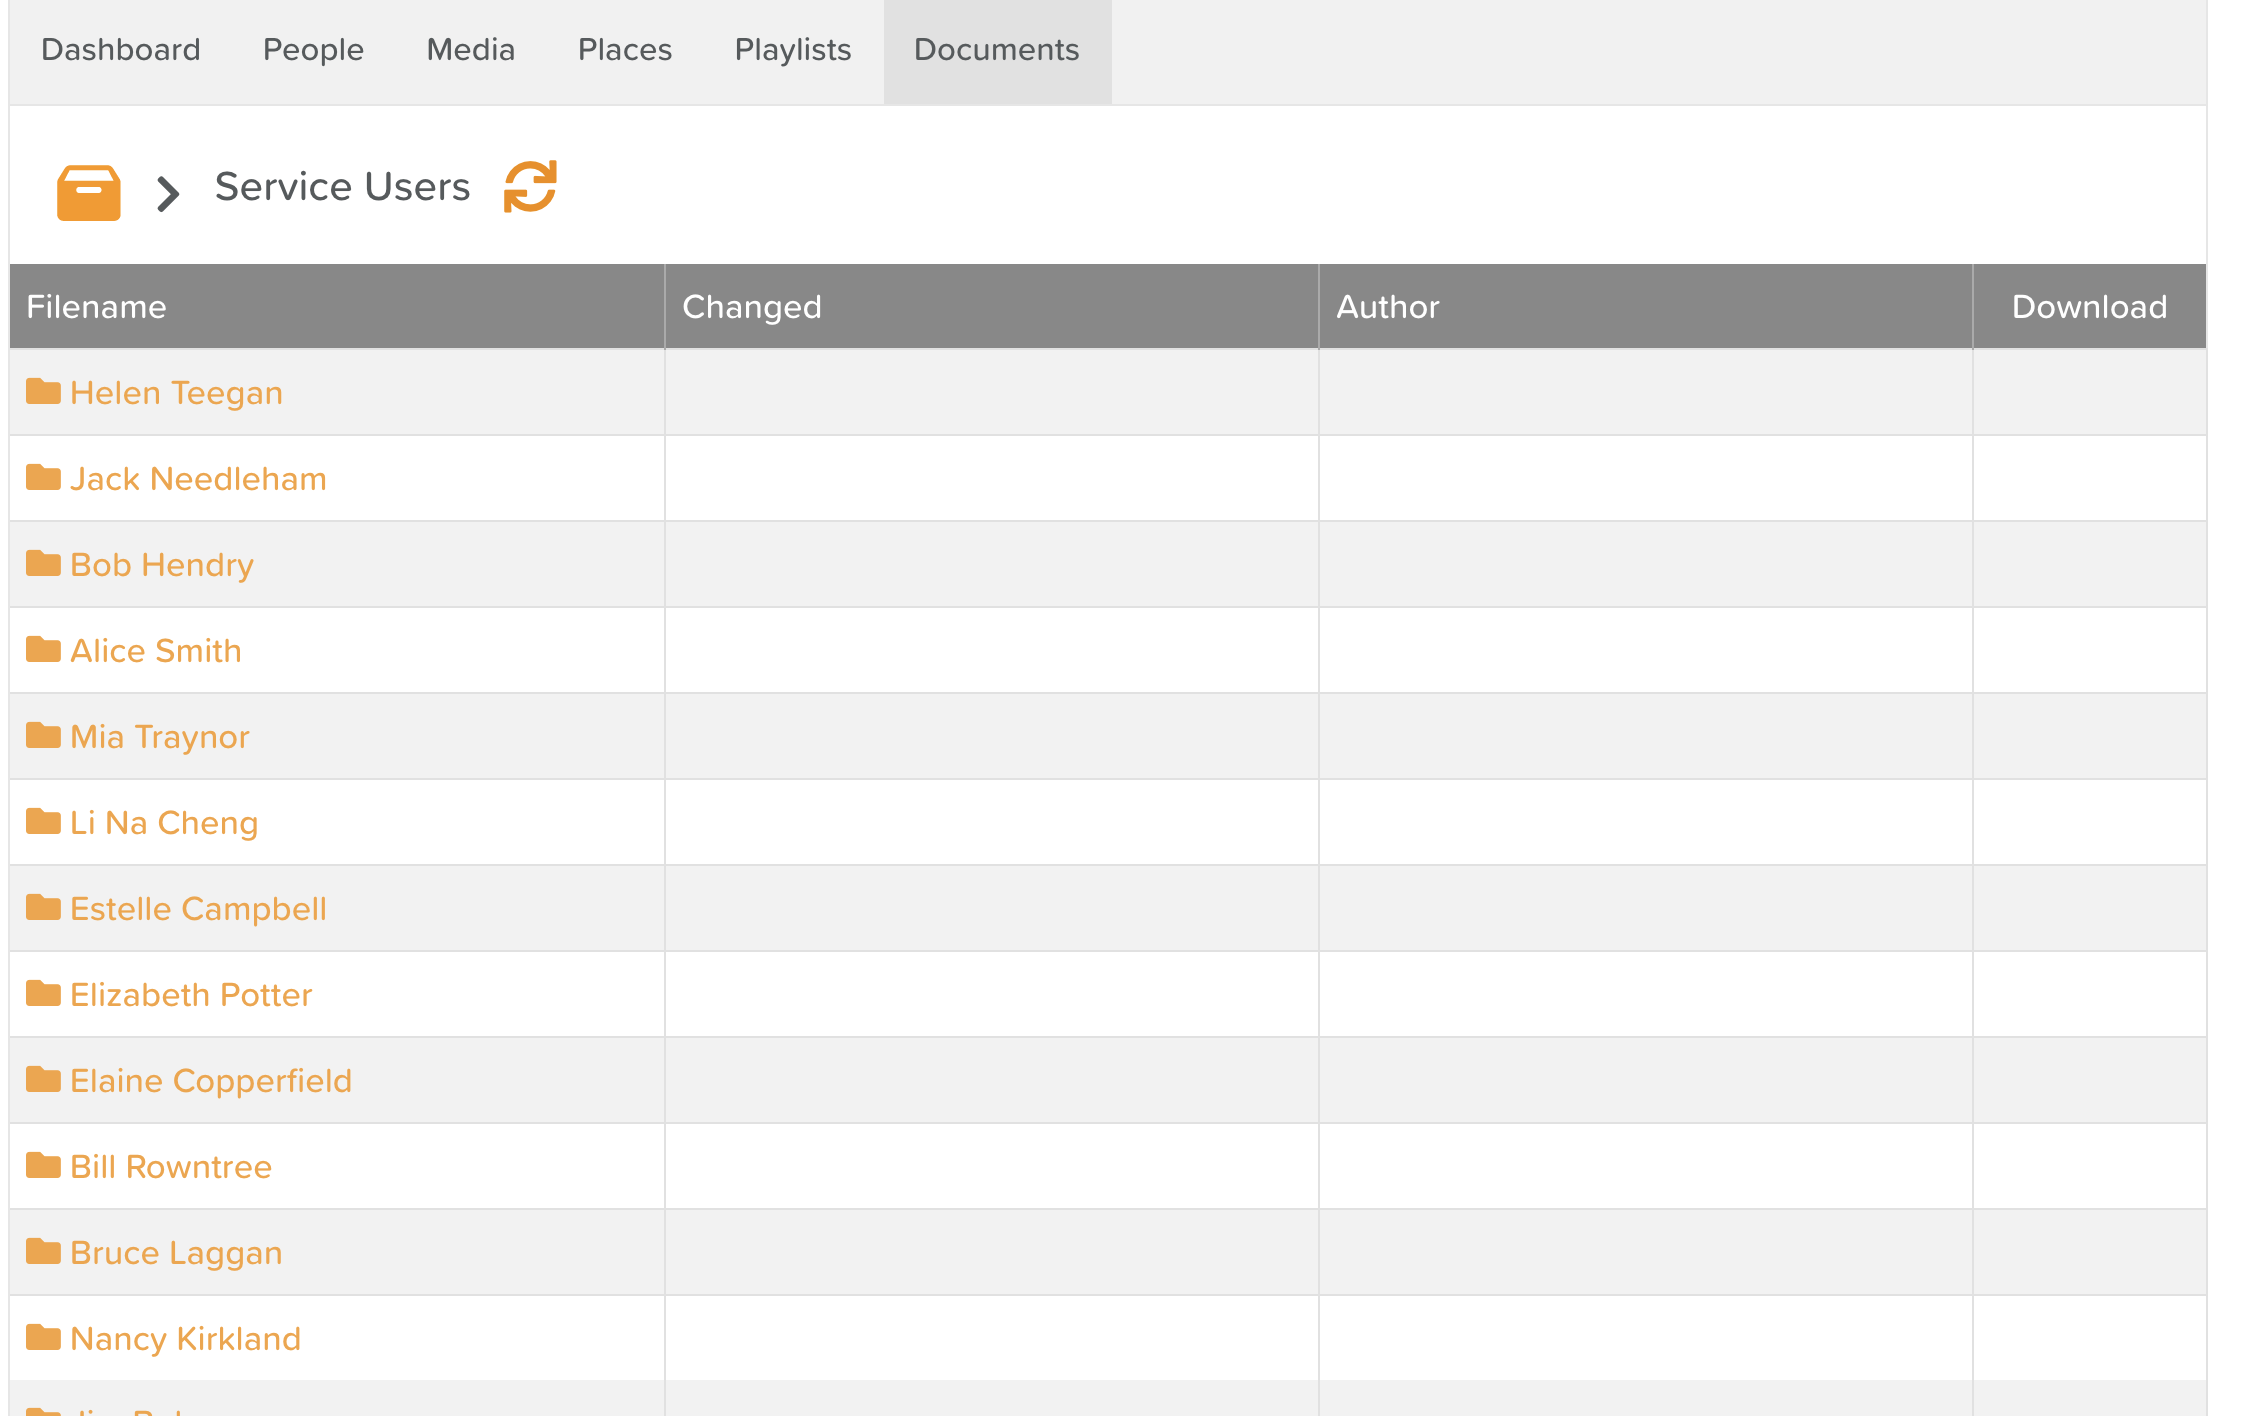
Any time you add a Service User, a Documents folder is automatically created for them.
How to Find a Service User's Documents
You have two options:
Click on Documents from the Dashboard and then click on the Service Users folder to find the person you're looking for.
Go to the Service User's profile and click on their Documents section.
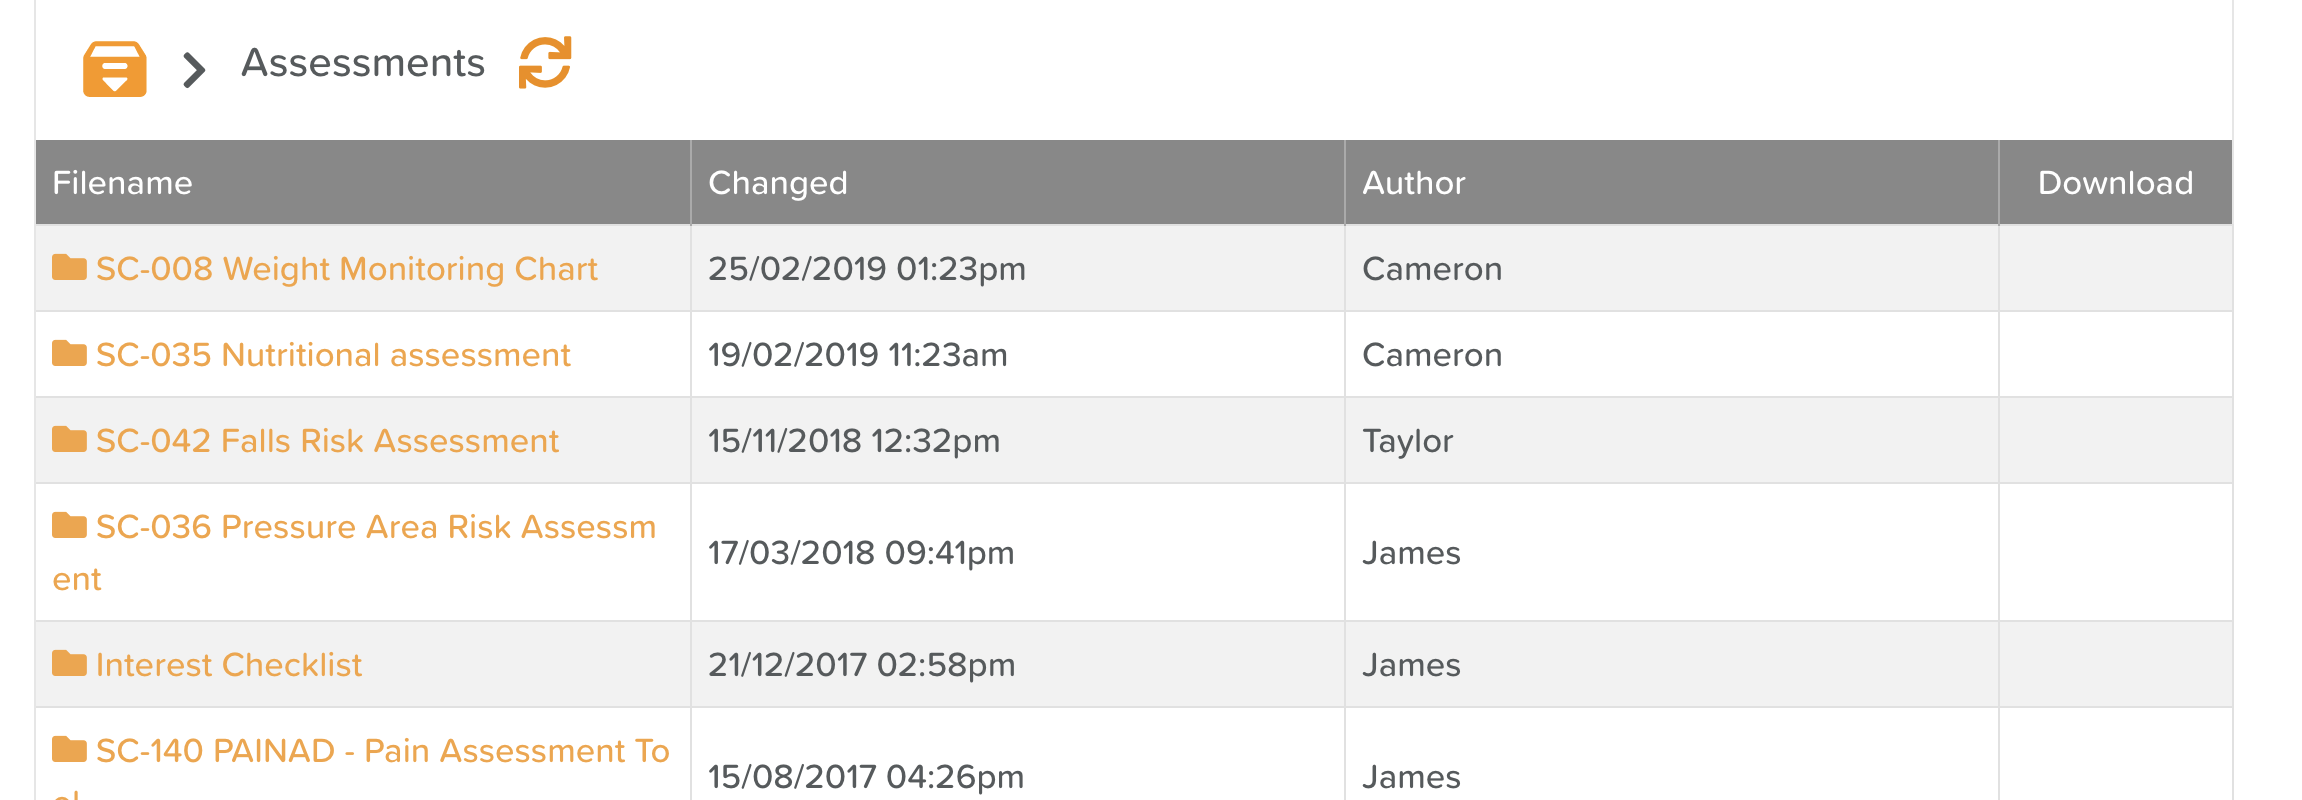
Any time you carry out an assessment, a copy of the assessment is automatically saved in the designated Service User's folder.
Any time you save a Form, a copy of the form is automatically saved in the designated Service User's Forms folder.
A folder is automatically created for each assessment and form. Within the folder, assessments are organized by year.
How to Add a Document
Click on Documents
Select the General folder (you cannot manually add documents to the Forms or Assessments folders as these are tied and synced to the respective features).
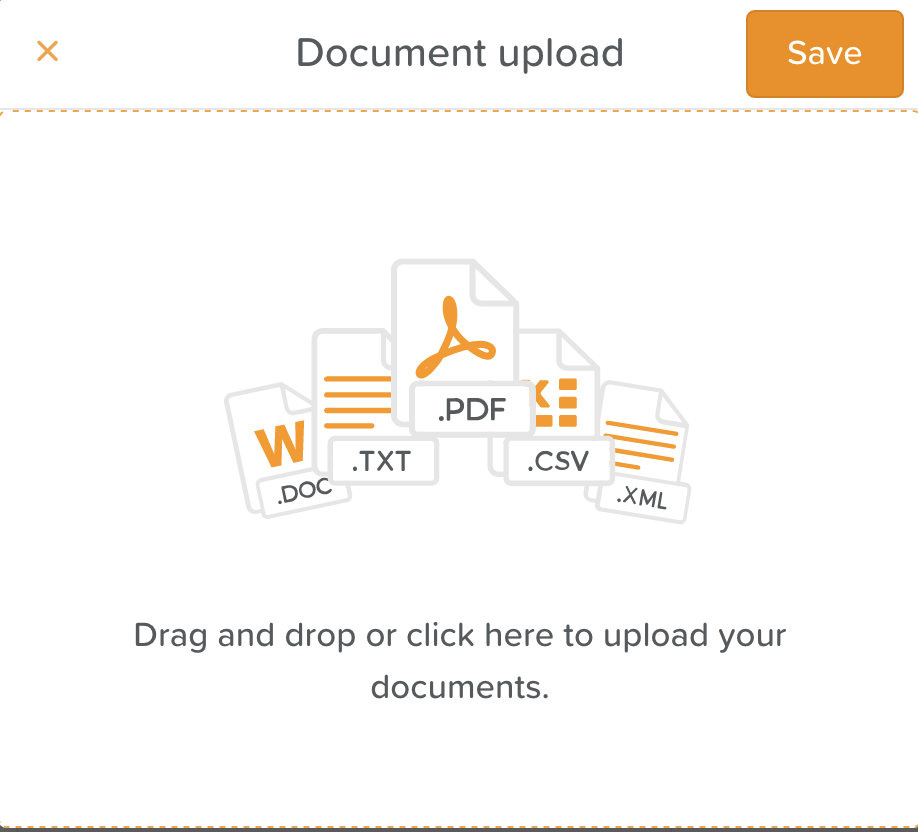
Once in the folder you wish to add to, click on the Add button and select Document
If you are using a computer you can either drag and drop a document, or if on another device you can click the middle of the box, and use the File Explorer to locate your chosen document.
You can upload a number of document files at one time.
How to Create a New Folder
Click on Documents
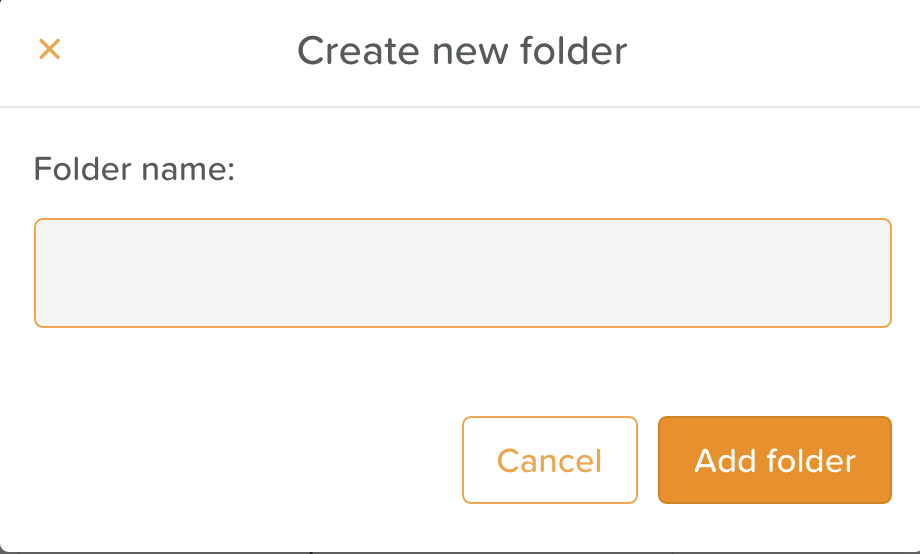
Navigate to the General folder of the Service User you're working on. Click on the Add button and select Folder.
Give the folder a name and click Add folder
How to Delete a Document
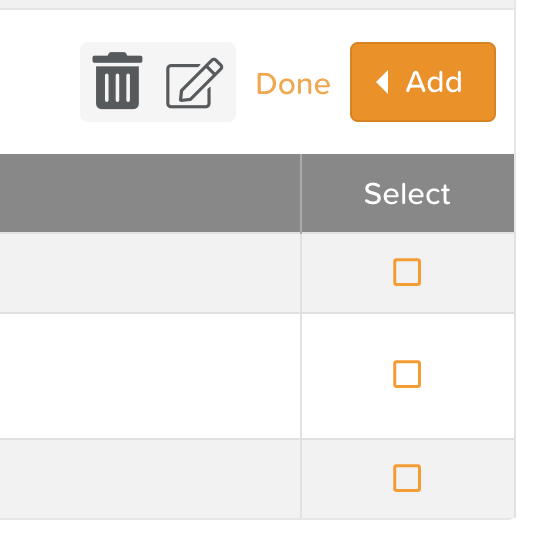
To remove a document from a Service User's folder, click on the Edit text next to the Add button on the right-hand side of the page.
This will enable you to tick the box(es) of the document(s) you want to delete. Then you will click on the trash can icon to remove them. **Please note you can only delete or edit documents that you have uploaded to StoriiCare. You cannot edit or delete assessments.
How to Change Who Can Access a Folder
If you have sensitive documents within a folder that should only be viewable by certain staff members, you can decide which staff have access to that folder.
First, go to Documents and open up the 'General' folder.
Next, click where it says 'Edit' next to the Add button.
Then, tick the box of the folder you want to make access changes to.
From here you will click on the pencil and paper icon next to the trash bin icon.
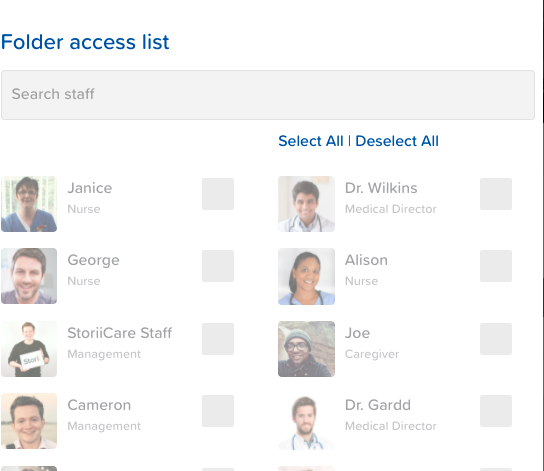
That will bring up a list of your staff.
Select which staff have permission to view this folder and the documents stored within in and hit 'Save'.
How to Change Who Can Access a Document
If you have sensitive documents that should only be viewable by certain staff members, you can decide which staff have access to each document.
First, go to Documents and open up the 'General' folder.
Click where it says 'Edit' next to the Add button (this could be from the 'General' folder area if you've uploaded documents directly there or it might be within another folder you created to store the documents).
Then, tick the box next to the document you want to make access changes to.
From here you will click on the pencil and paper icon next to the trash bin icon.
That will bring up a list of your staff.
Select which staff have permission to view this folder and the documents stored within in and hit 'Save'.
