Using the Staff Rota / Roster
This is a work-in-progress BETA feature and we will be monitoring usage and feedback closely to ensure it is fit for purpose.
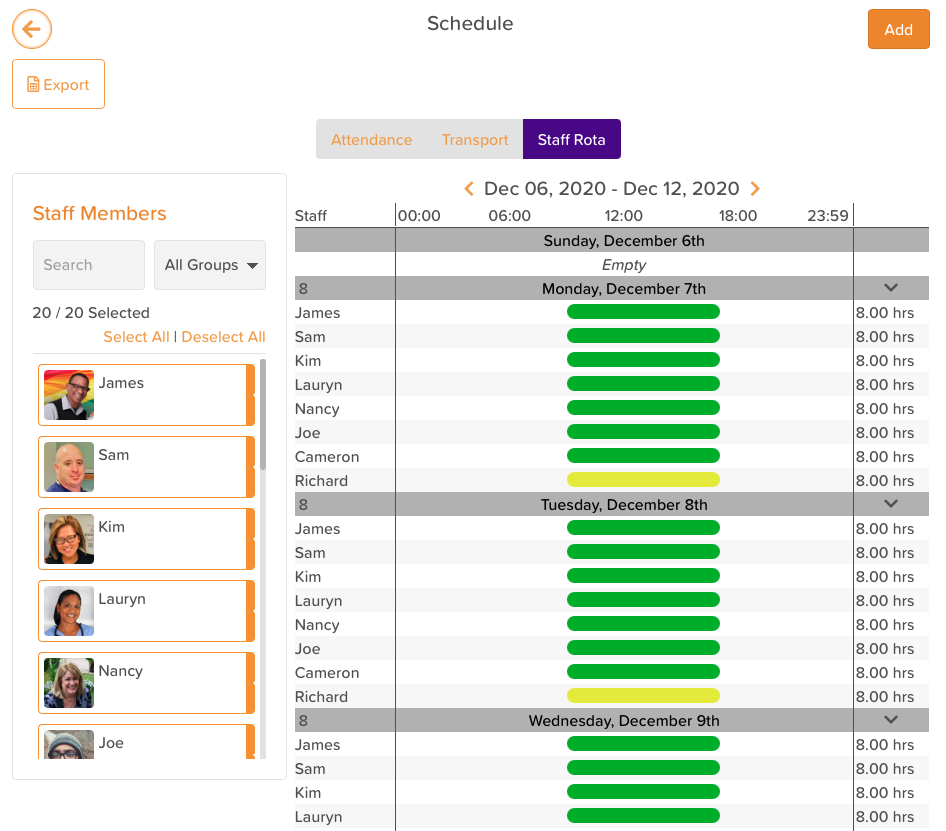
The Staff Rota is intended for scheduling both Work and Leave schedules for your Staff.
To Add a new schedule, select the 'Add' button on the top right hand side of the screen.
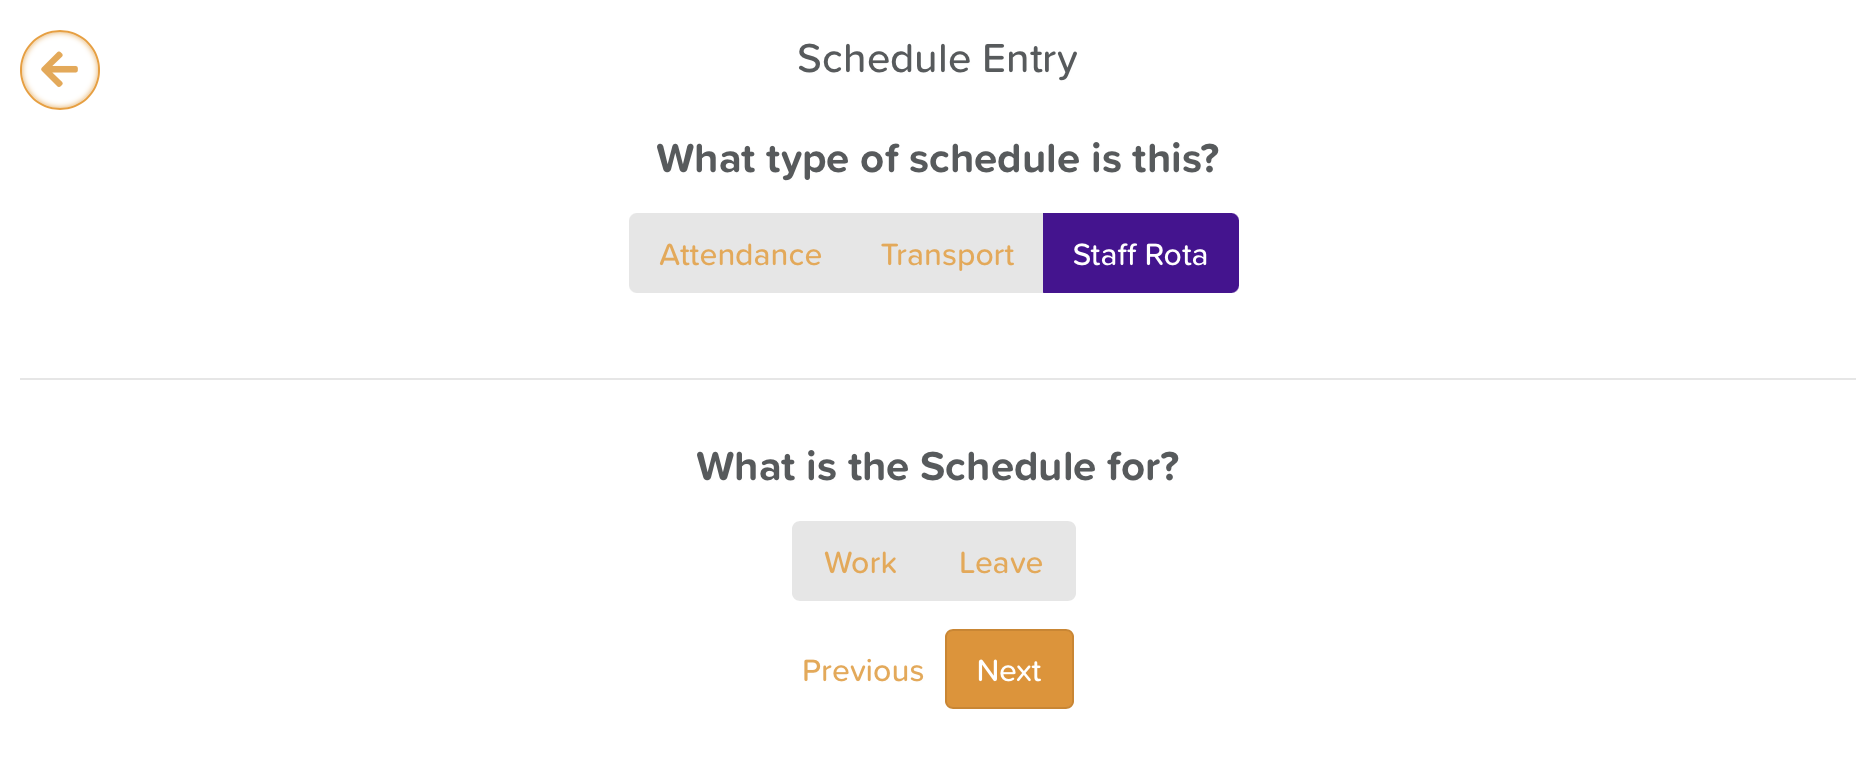
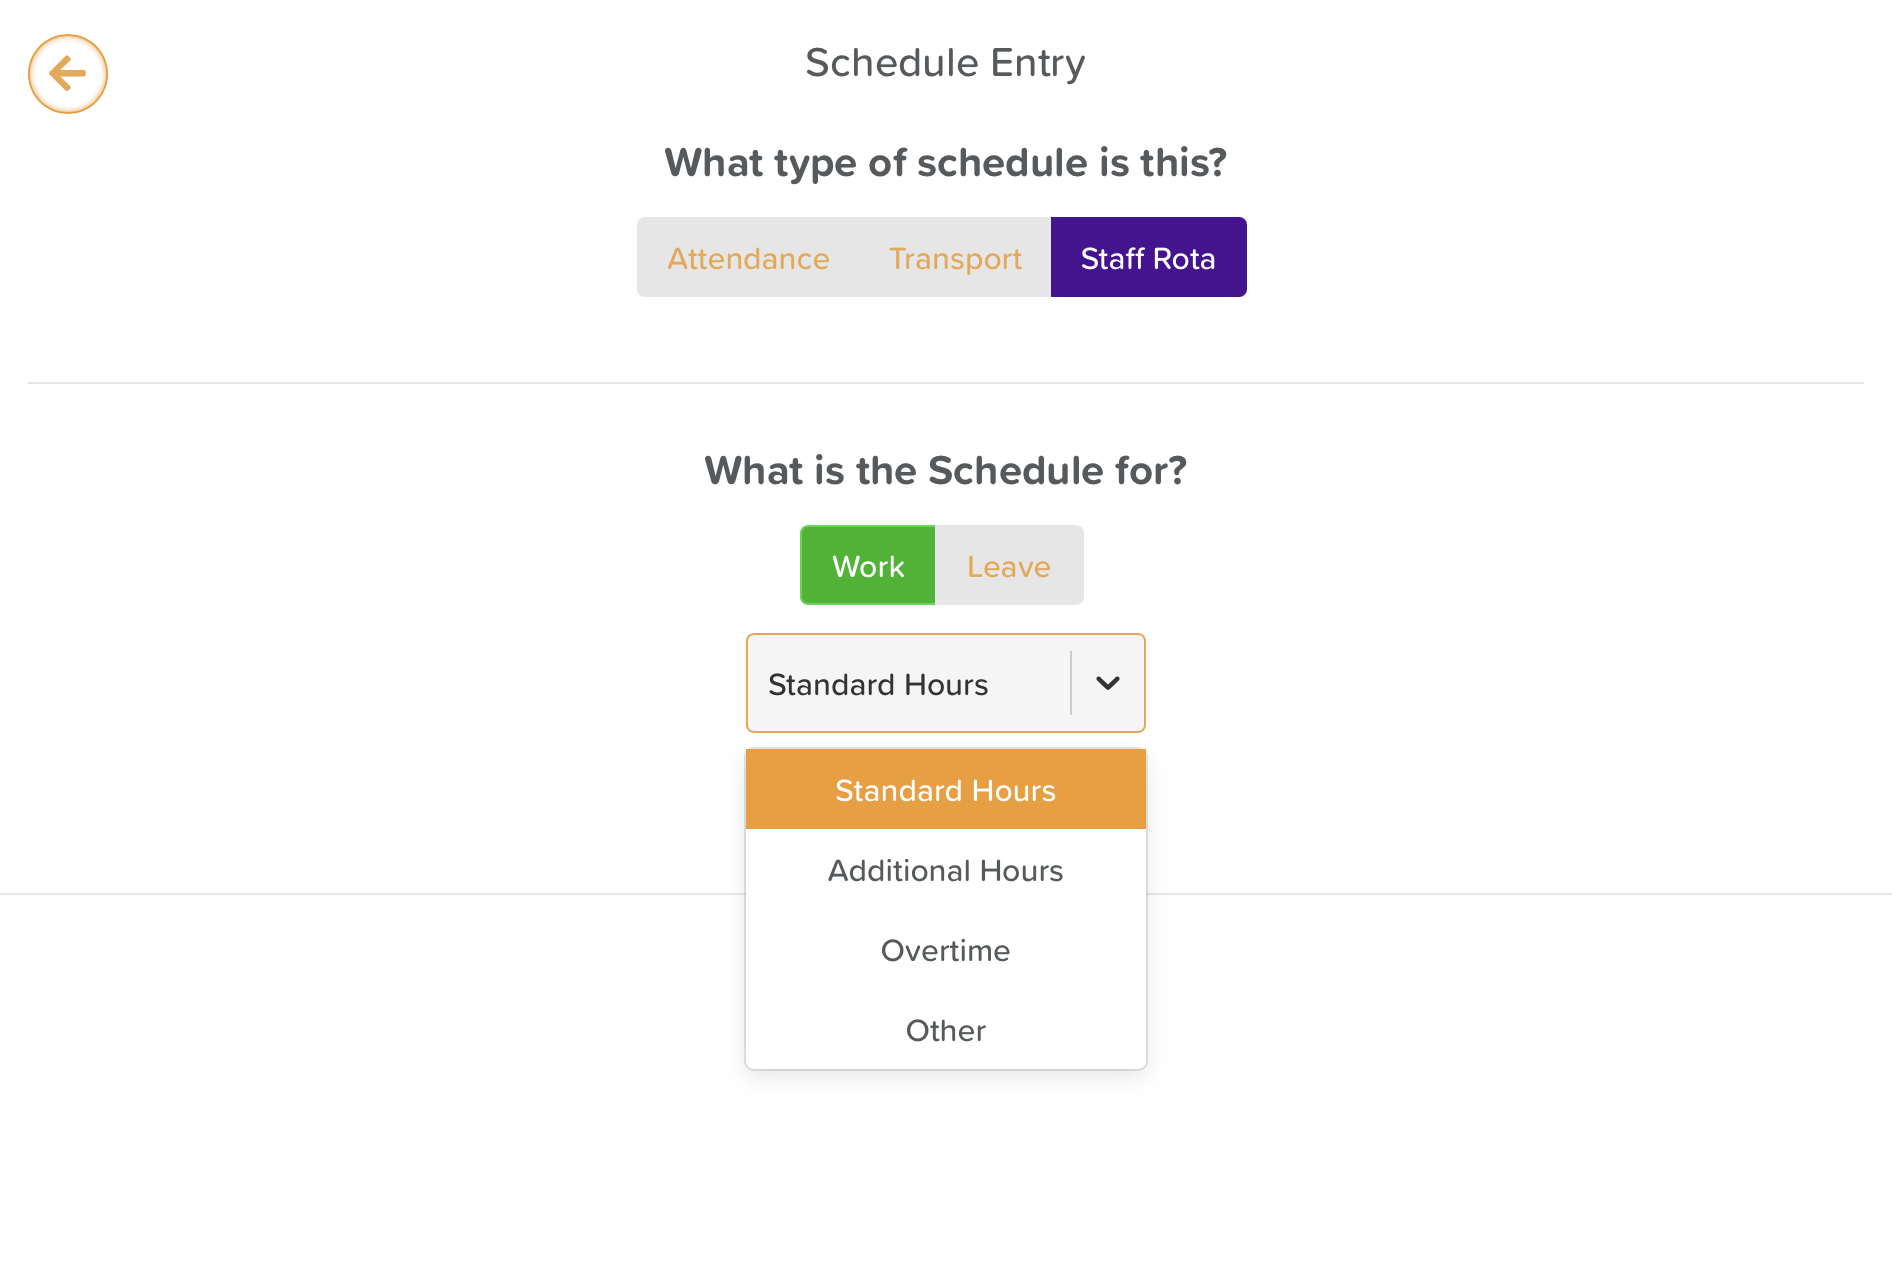
Ensuring 'Staff Rota' is selected from the Schedule options, select the Schedule type (Work, or Leave). You will also have the opportunity to select what kind of category the schedule is in. (e.g. If it is a work schedule, you might choose 'Standard Hours' or 'Overtime'). These categories can be edited and you may add custom ones.
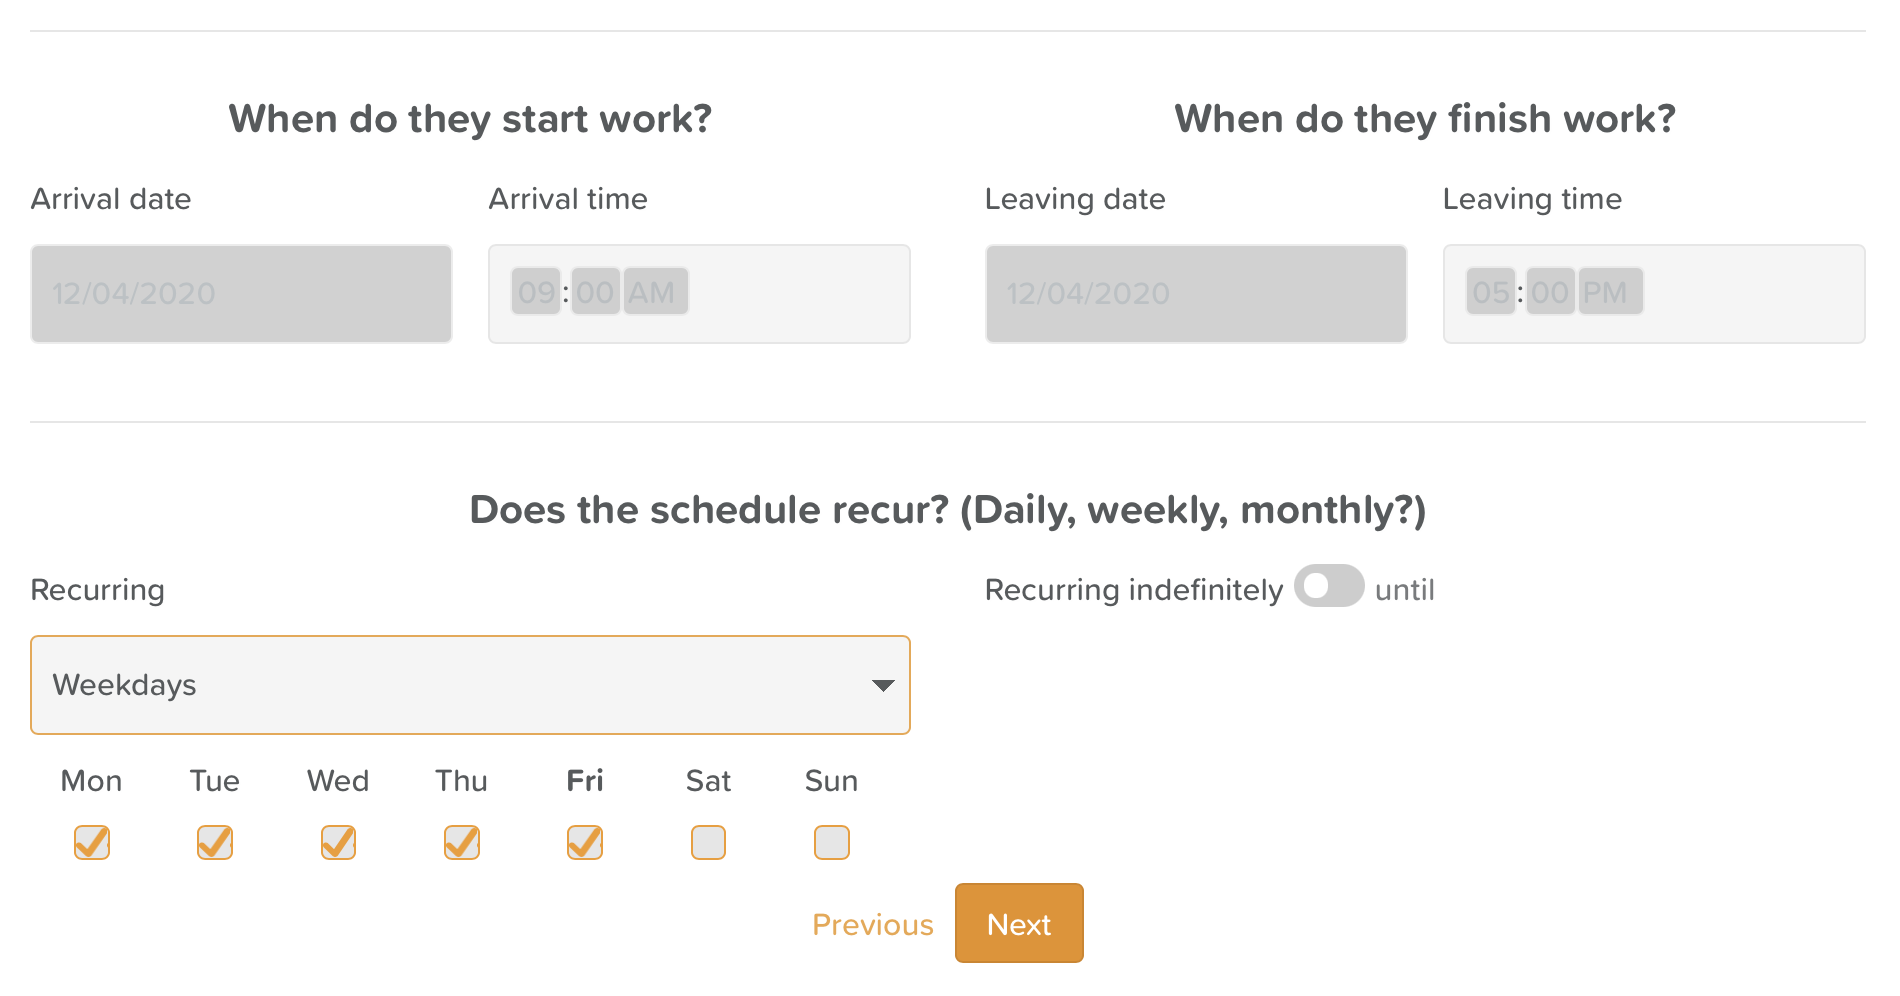
Select a time in a day the schedule begins and ends (e.g. 9am-5pm). The arrival date and leaving date should be on the same day, unless a schedule expects an indiviudal to be working overnight or for more than 24 hours.
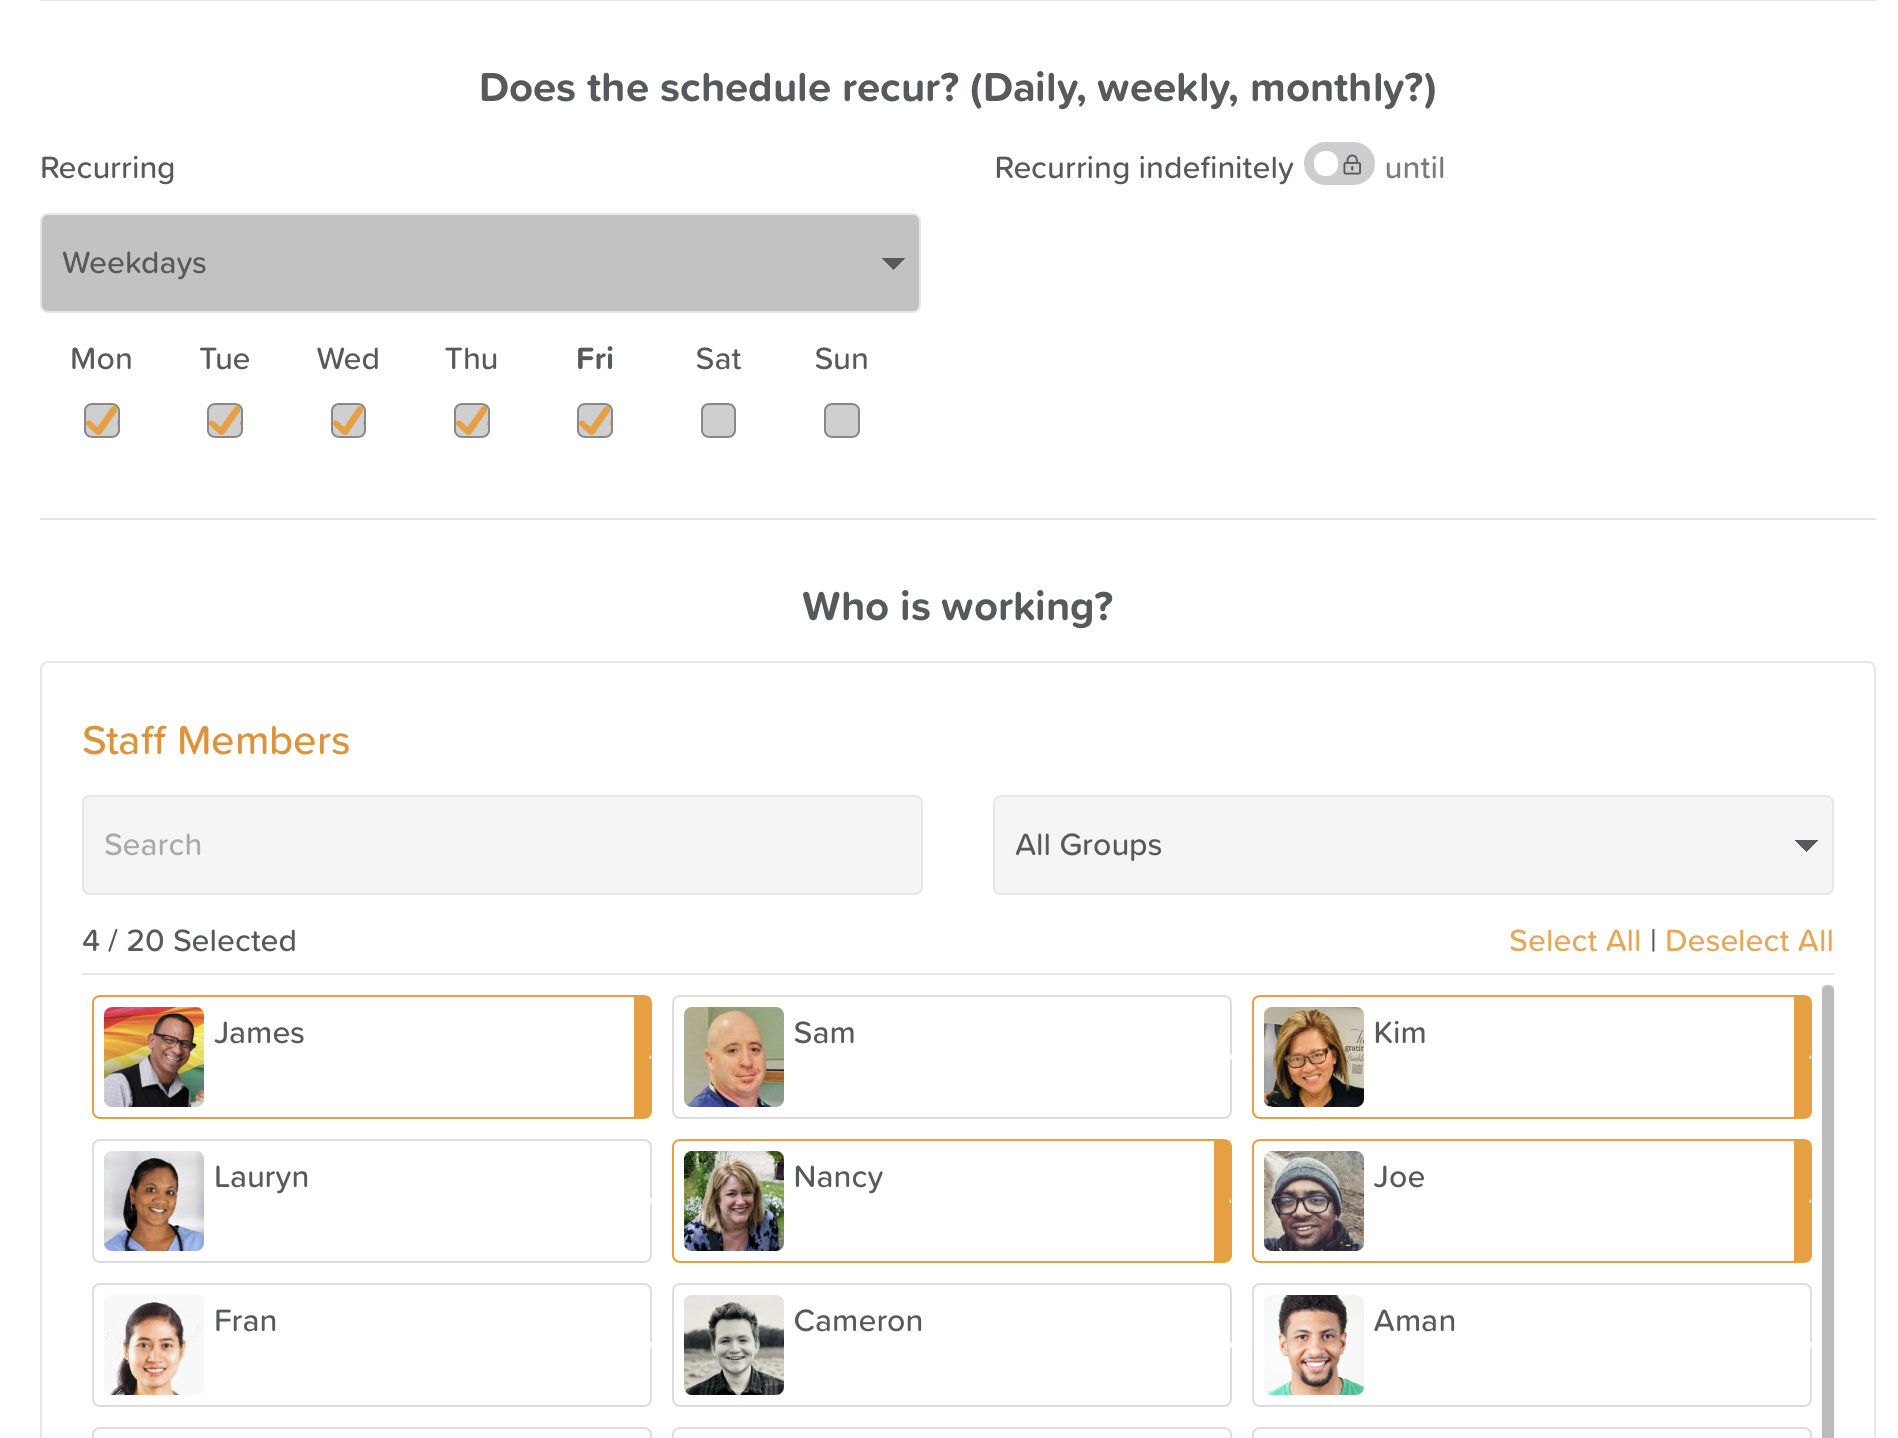
Choose your recurring options - e.g. 'Weekdays'. You will then be able to select which days this schedule is expected to occur on. You will also have the ability to choose if this schedule recurs indefinitely or for a set period. (e.g. For agency staff working for a set week or month, you may want to choose when the schedule is expected to end)
Who is working? Choose the Staff members you would like to apply this schedule to. This can be edited later if required.
Notes (optional) + Save. You may wish to add notes to this schedule, reminding staff and management what this schedule is for. This could be 'Additional hours due to expected busy period' or it could be reminding staff which service users they are to see that day 'Visiting: Pam, Elizabeth & Jim'. Feel free to format this text with colors, links or other available formatting where required. This text will display directly in the Staff Rota view when a Rota is selected.
To create a Leave schedule, follow the same steps as above, but select 'Leave' as the Schedule Type.
Exporting
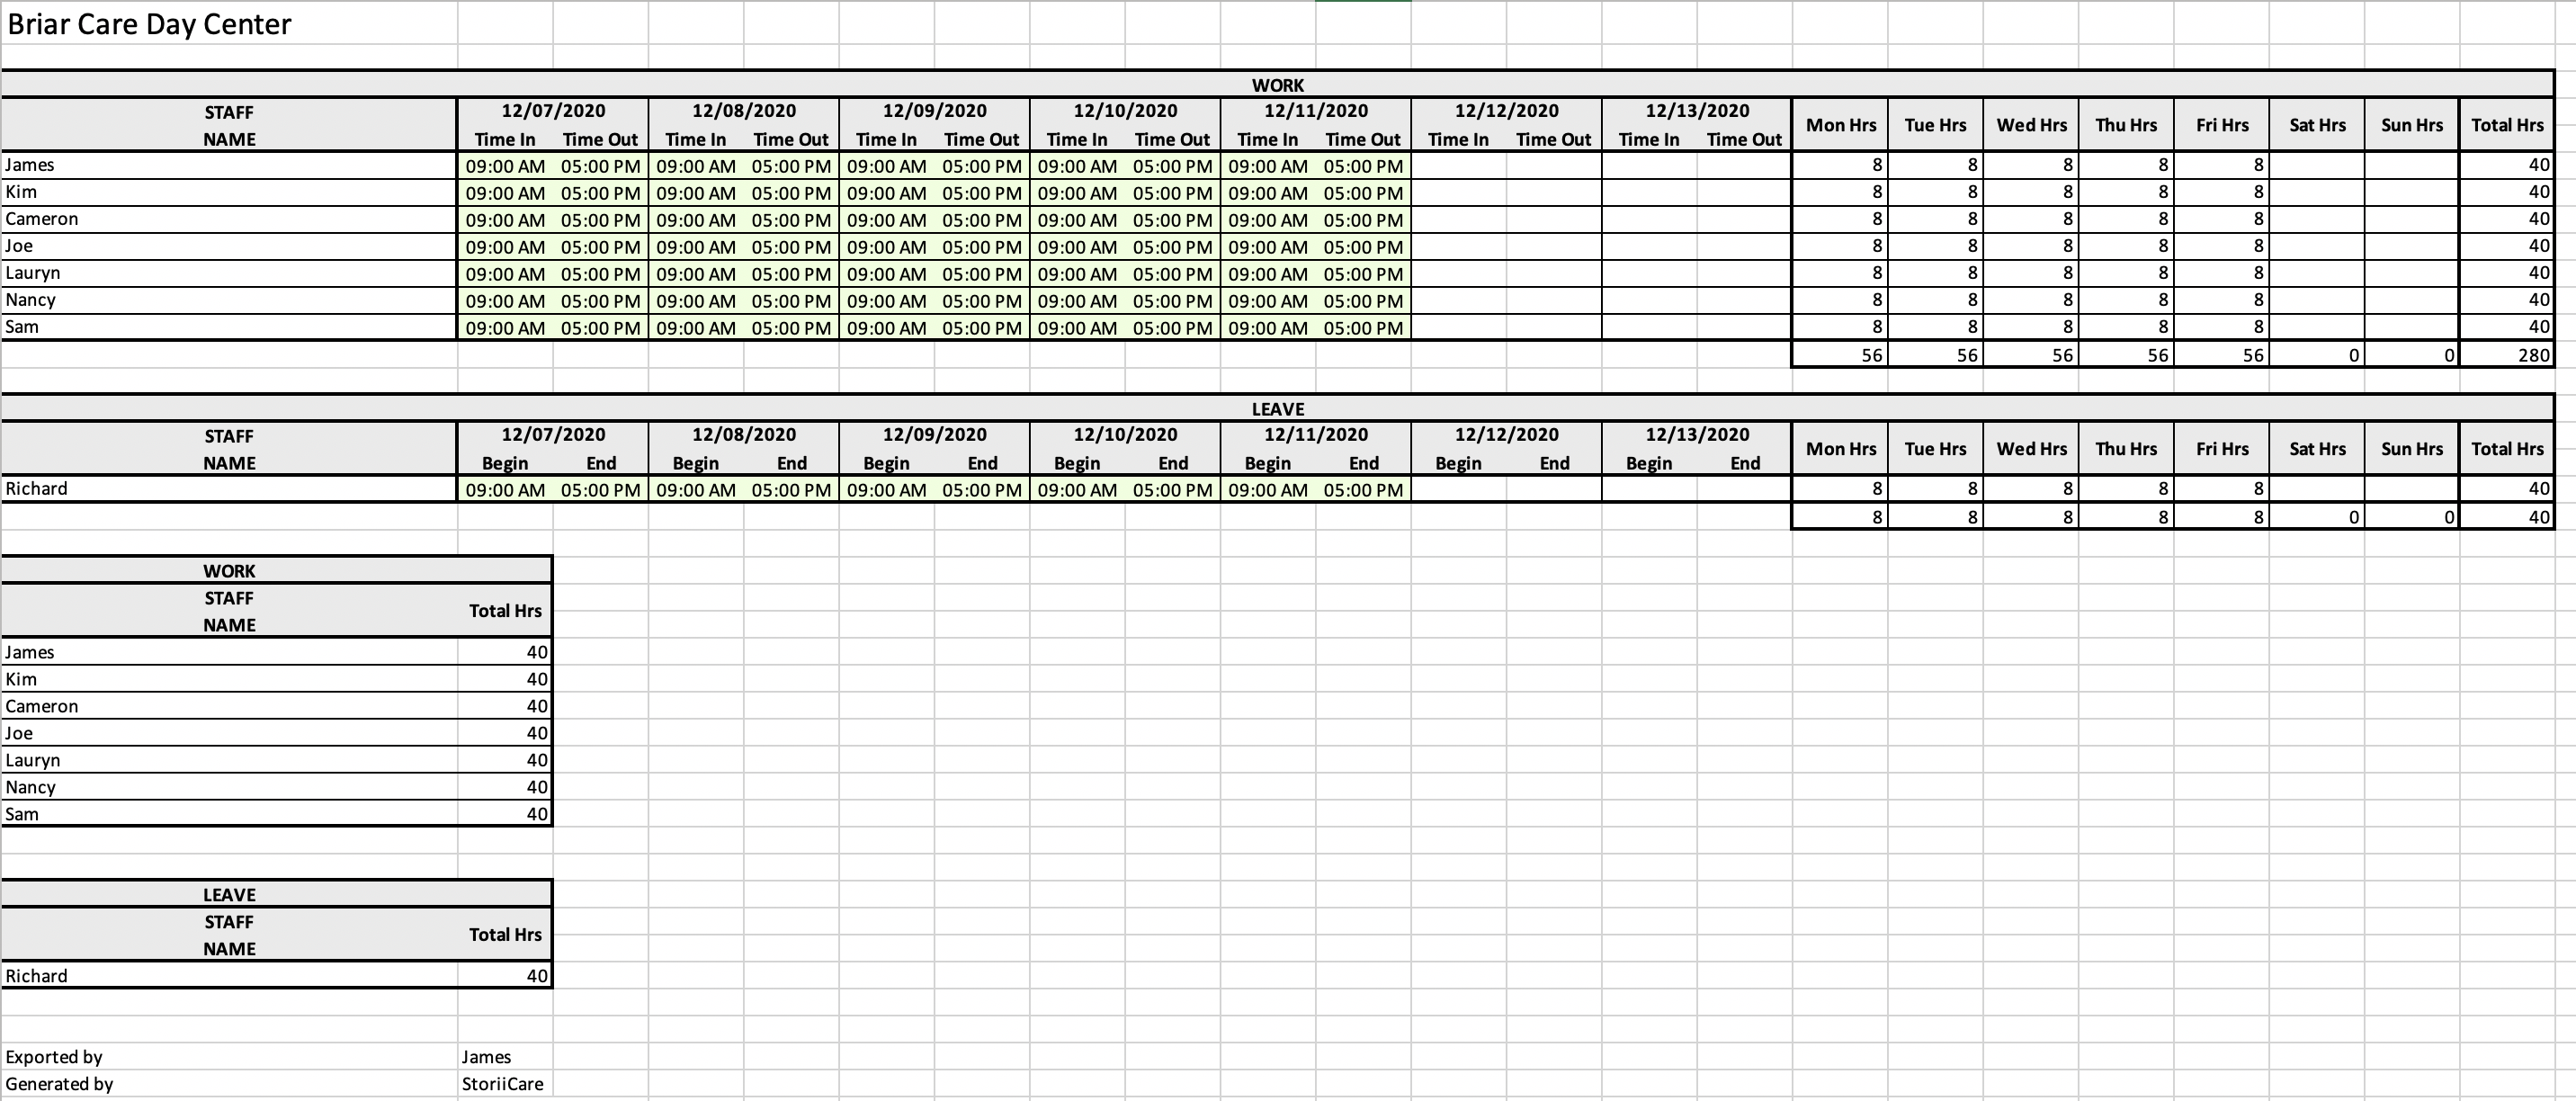
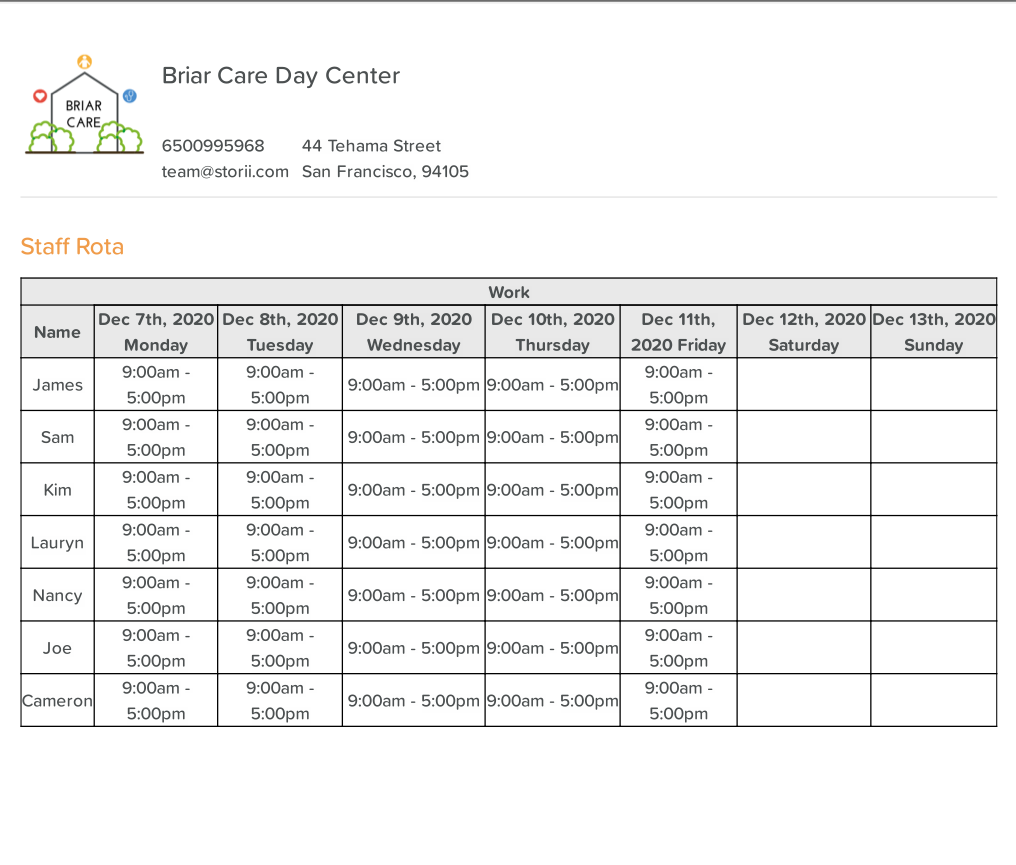
For Staff Rota, you are able to Export both as an Excel (.xlsx) document or a PDF. Two examples are shown below. Please note if you are exporting via an Excel document, different sheets may be created if exporting for more than a week-long period, so be sure to check for this on the export.
To run an export, select the 'Export' button located on the top left of the Schedule view. You can then select the Date and Time Period you would like to export for.

